
As you learned in our post on adding a custom component to the Sitecore page editor (haven't had a chance to read it? Go ahead, we'll wait! Back? Okay, great) adding "field editor buttons" can truly enhance the experience for your content authors by enabling the addition of fields that have not been directly exposed in the component itself.
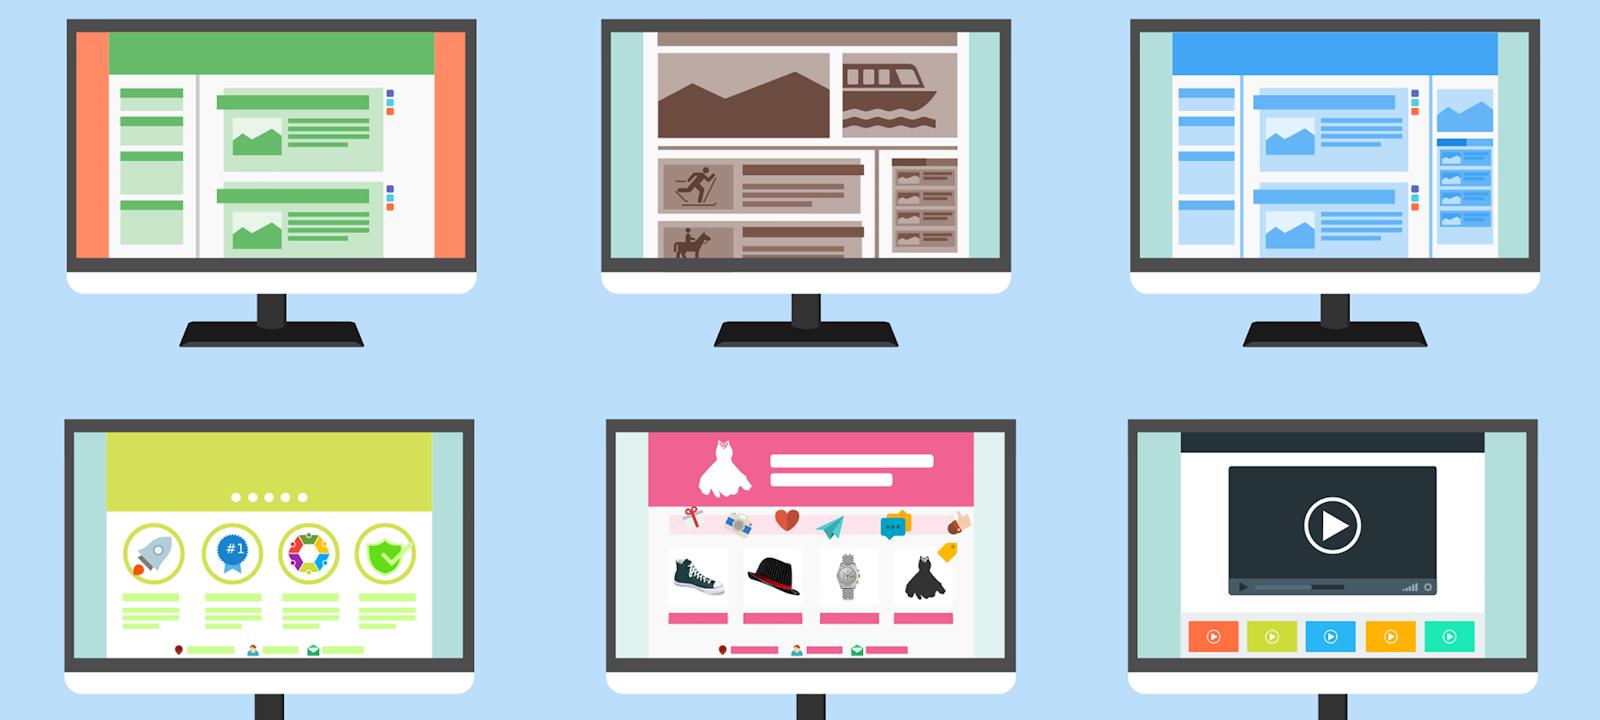
What you may have also noticed is that this approach, despite its obvious advantages, is also a bit limiting, since the user can only reach fields located directly in the Data Source item. Now imagine a component that uses as its data source an Item AND all children of that item:

When your content author adds this component and selects the “Accordion Container” item as its Datasource, all its Children items are also used as multiple tabs of the Accordion component. Since multiple items are being considered to render this component, and Field Editor Buttons can only expose fields of the base datasource item, your content author won’t be able to add, delete and change the order of children.
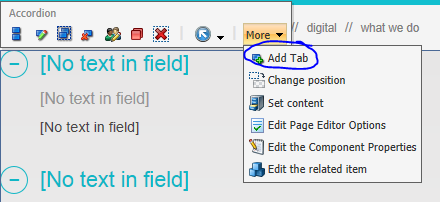
On the other hand, with WebEdit buttons, you can build more sophisticated controls to be used in the Page Editor. I'm going to take you through a step by step and show you how it's done.
Adding a WebEdit Button to the Component
- In the core database, go to “/sitecore/content/Applications/WebEdit/Custom Experience Buttons”
- Create a new item of type “/sitecore/templates/System/WebEdit/WebEdit Button,” which will be the custom button
- Fill in the button fields: “Header,” “Icon” and “Tooltip”
- (Optional) Add a “Type” field
a. Common – The button appears normally, but once the toolbar is full the icon appears under “more”
b. Sticky – Same as common, but the button stands where you place it
c. Separator – The button will be an unclickable separator
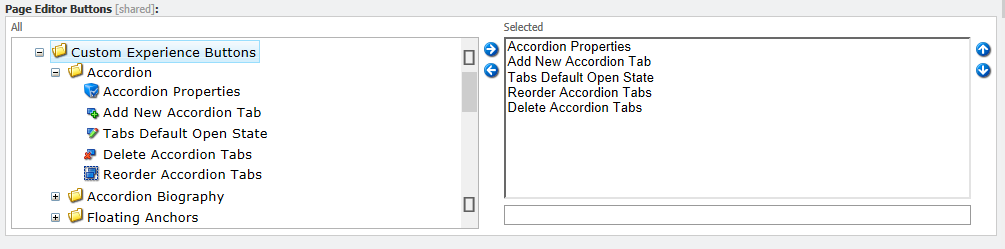
Now in the master database, go to the components sublayout to place the custom icon in the component itself, specifically in the “Page Editor Buttons” field.
Adding an action to the button click
Up to this point, you've been able to see your custom button in the component toolbar, but nothing happens when you click it. In the steps below you’ll learn how to trigger an action when the button is clicked; in our case we’ll be triggering a popup window where our custom logic will take place.
- Create a new command class to be triggered by the button click
- In your solution, create a new class that inherits from “Sitecore.Shell.Framework.Commands.Command”
- Create an Execute method with the following signature:
public override void Execute(CommandContext context) - This is where your code is added
In our case we will trigger a popup window. The complete code would be something like:

Next, add your new command to the list of commands at Sitecore configuration level. For this you'll need to add your full assembly name to the Sitecore commands by using a configuration file.
<configuration>

<sitecore>

<commands>

      <command name="nlc:accordion_addnewtab"

type="Nlc.Commands.AccordionAddNewTab,Nlc"/>

  </commands>

</sitecore>

</configuration>
You'll have to create a popup page to enable your custom logic. The popup page in the example above is a file that will be created identified as “/Accordion/AddNewTab.aspx”
Finally, you'll need to head back to the core database where your custom button resides, and fill the “Click” field with the command name (in our case it is “nlc:accordion_addnewtab”). If you've successfully created your WebEdit button, it will now trigger a popup, where your custom logic resides.
Which other Sitecore Page Editor customizations have you done to improve the experience for your content authors?


