


Here is the step-by-step instruction of how to setup and configure your active directory B2C on Azure.
The Tenant:
First, we need to create an Active Directory B2C tenant, register it and configure our app in it.
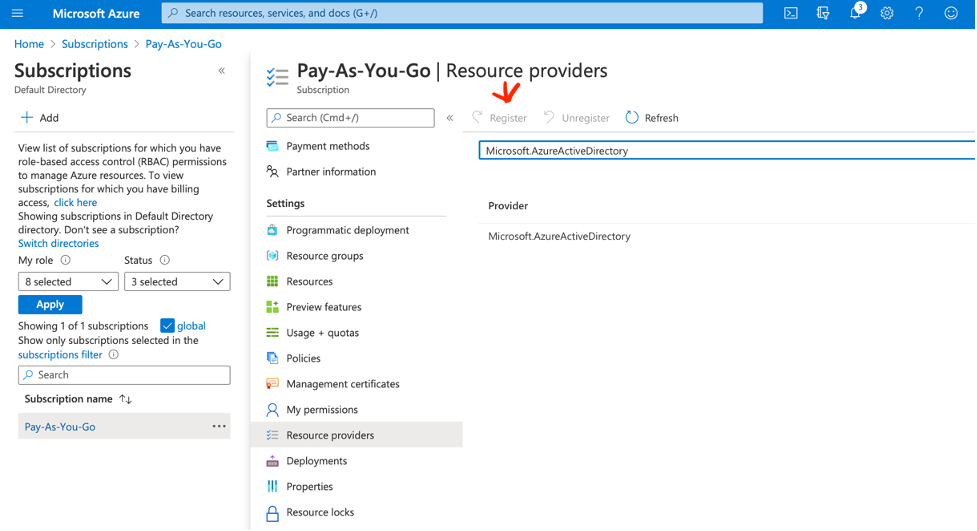
Register your subscription for “Microsoft.AzureActiveDirectory”.
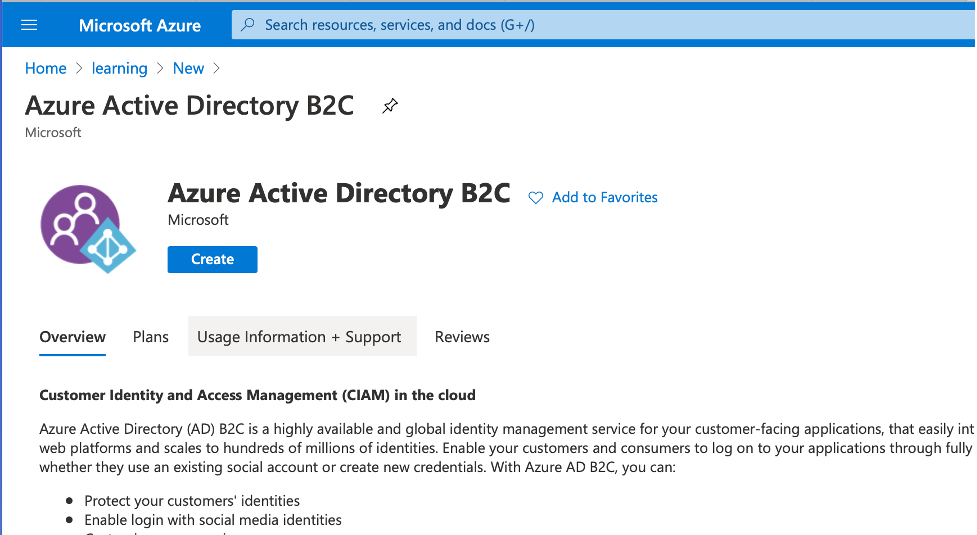
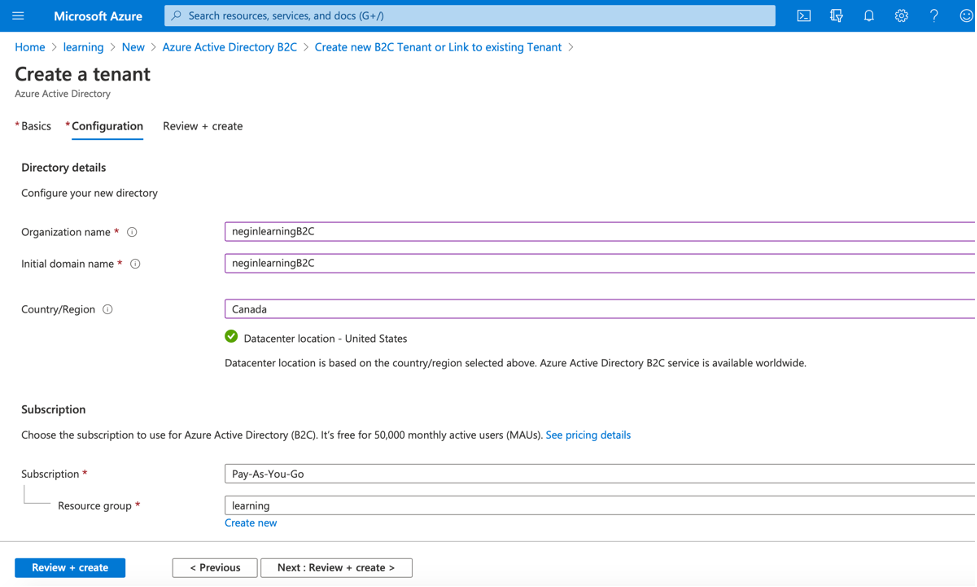
Then in your resource group look for Azure Active Directory B2C, and create a tenant for it:
After the tenant is created, go to it and then go to App Registration and click on “New Registration”
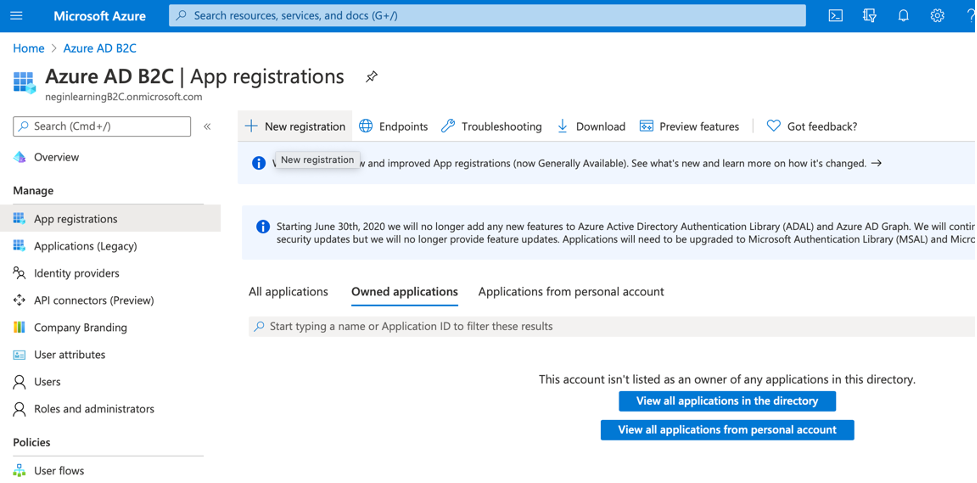
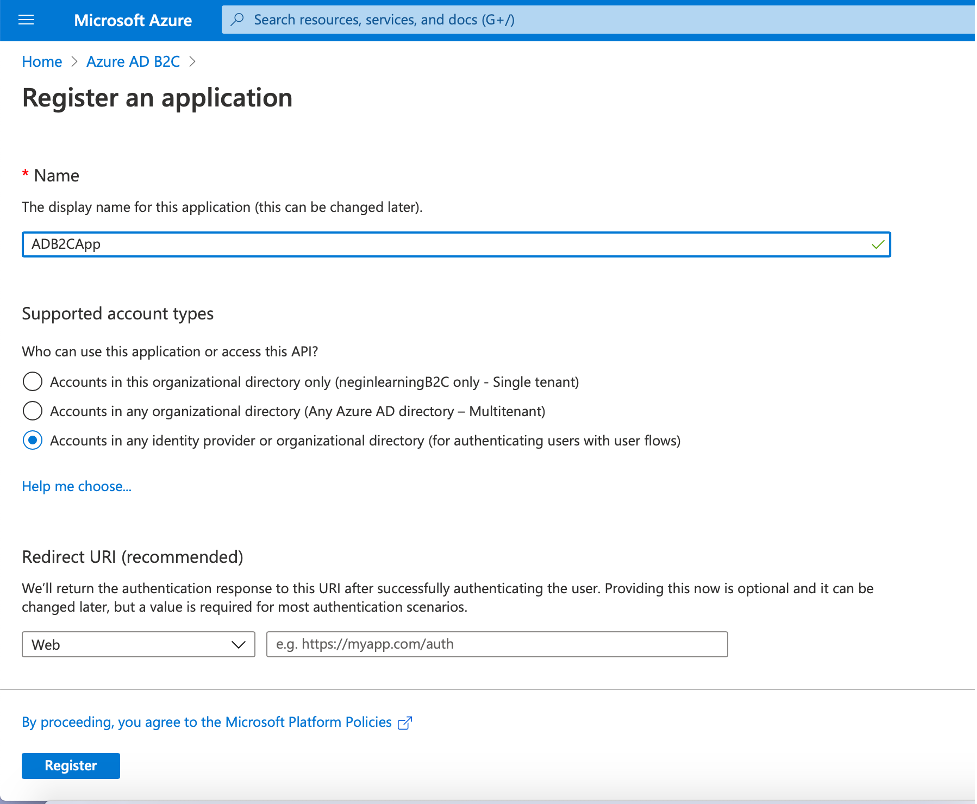
Then you will be navigated to a new page for registering your app. Give it a name, leave the options as default and click on “Register”.
After the app registration is finished, you should now configure the “Authentication” settings.
So, navigate to “Authentication” in your B2CApp and configure your platform.
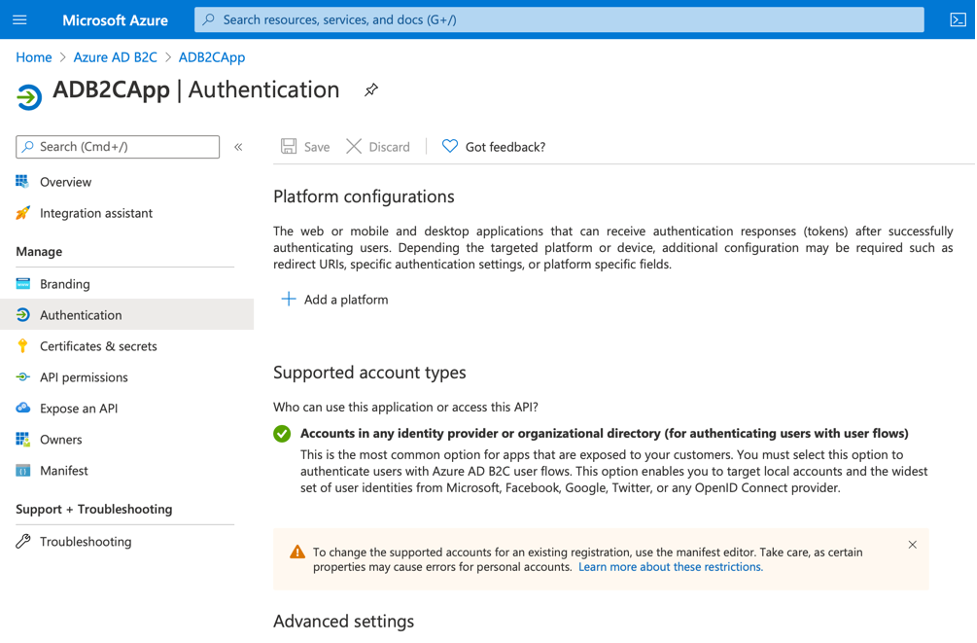
You can start by clicking on “Add a platform” button and you’ll see the following popup:
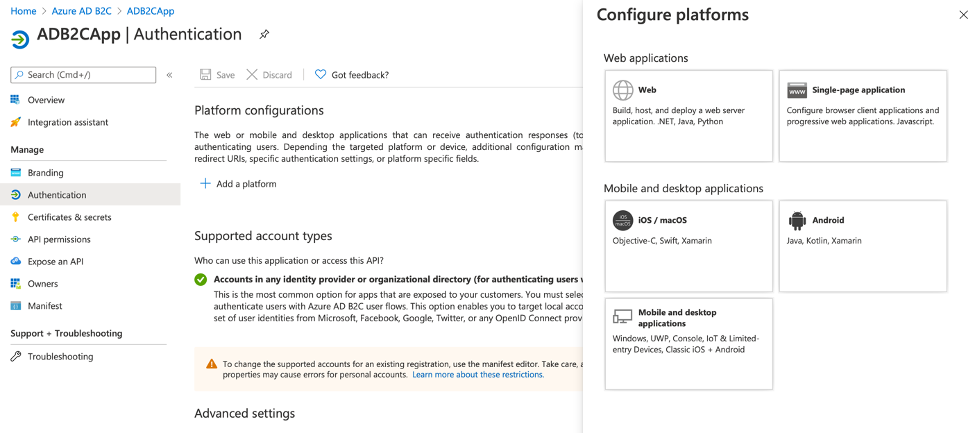
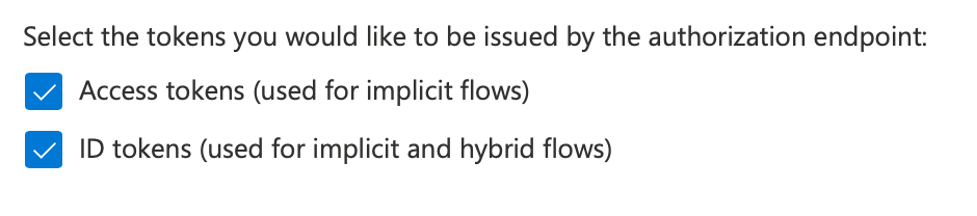
Then click on “Web” and configure the redirection urls in the newly opened window. This is the url that will receive the authentication tokens.
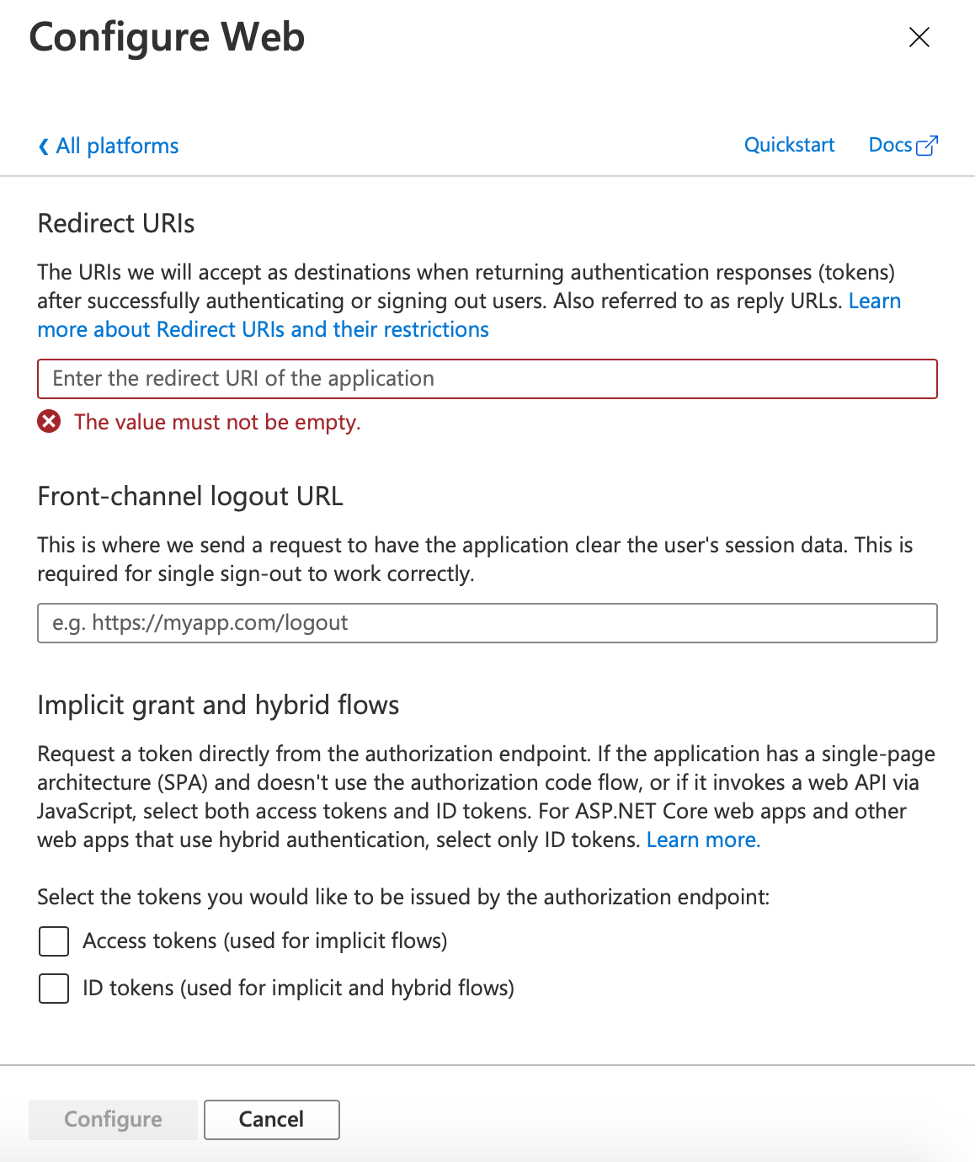
Remember to check off “Access tokens” and “ID tokens” options.
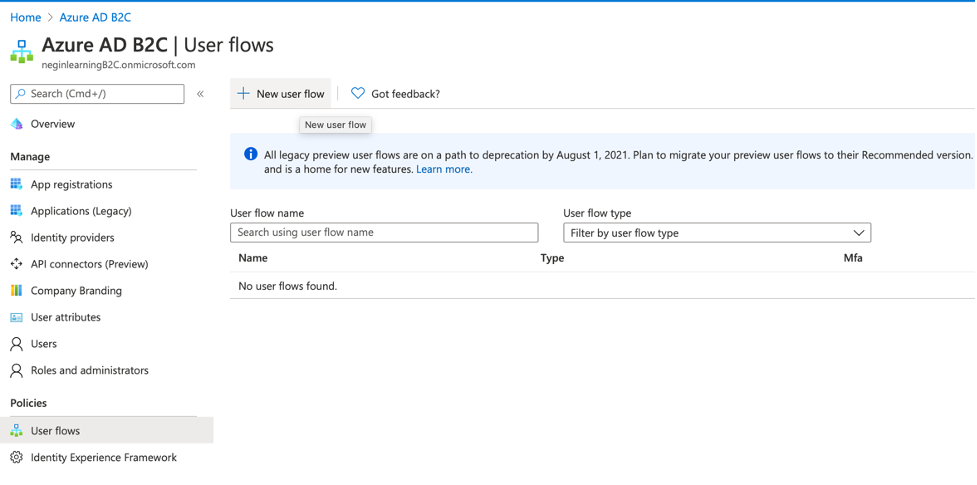
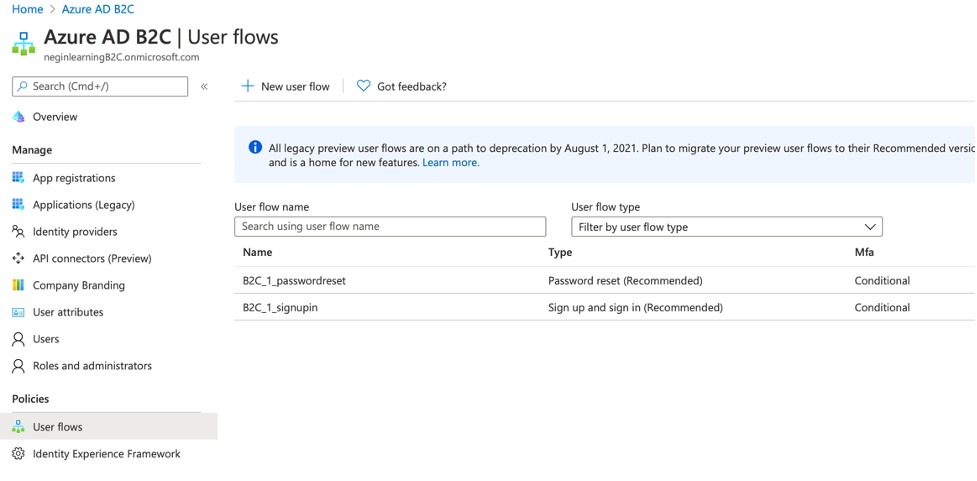
Now you need to navigate back to the B2C tenant and configure the user flow. In order to do so, in your Azure AD B2C click on “User flows” and click on “New user flow”.
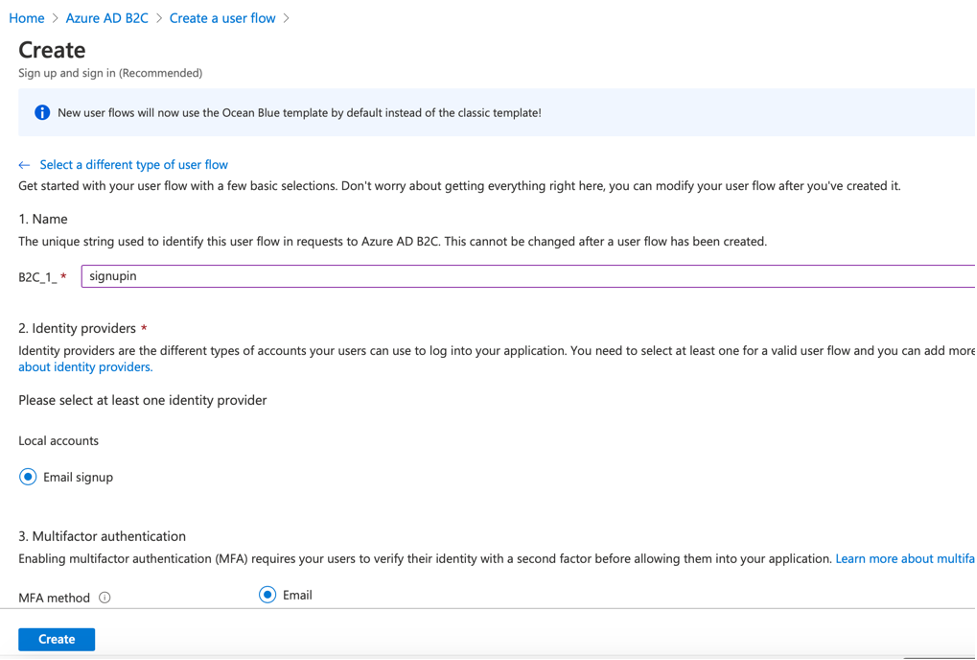
Then you will be navigated to a page where you can configure the desired functions that you want B2C take care of. In our case we select “Sign up and sign in”. We then choose “Recommended” flow and click on “Create”.

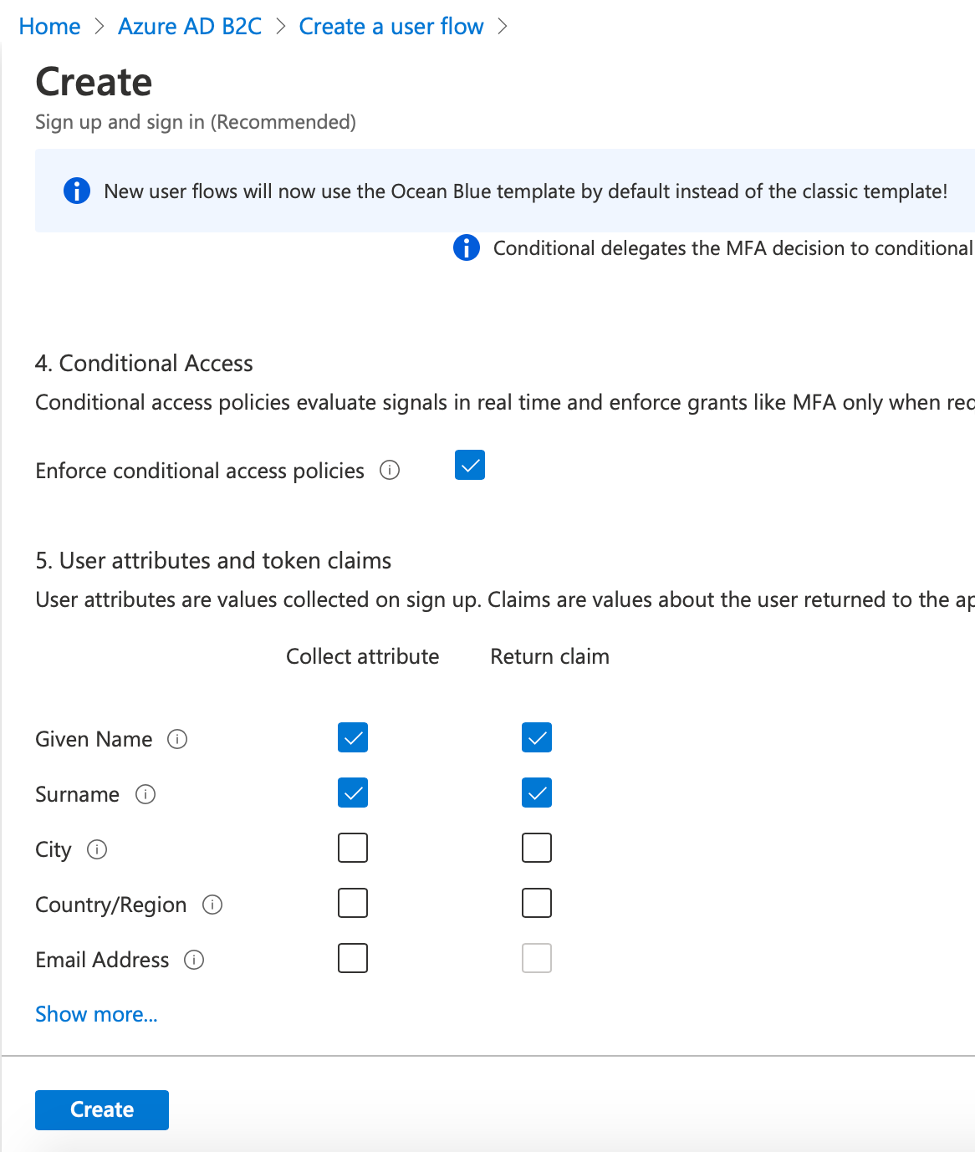
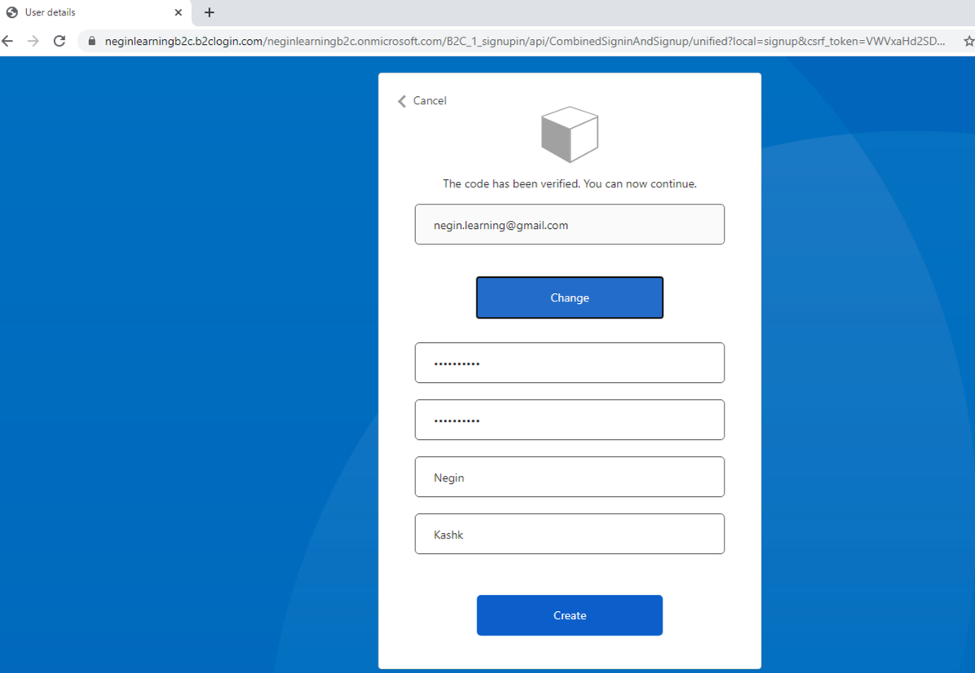
Then we give it a name, click on “Email signup” option, and select the values that we want to be returned in the token as claims and click on “Create” to create the flow.
Similarly, we create a password reset flow, but this time we don’t need any claims to be returned. So, we just give it a name and create it.
The Web App:
Now you need to create our .net core web app.
For that you need to change the authentication to “Connect to an existing user store in the cloud”.
Then you fill in the popped up form using the values that you grab from the active directory b2c.
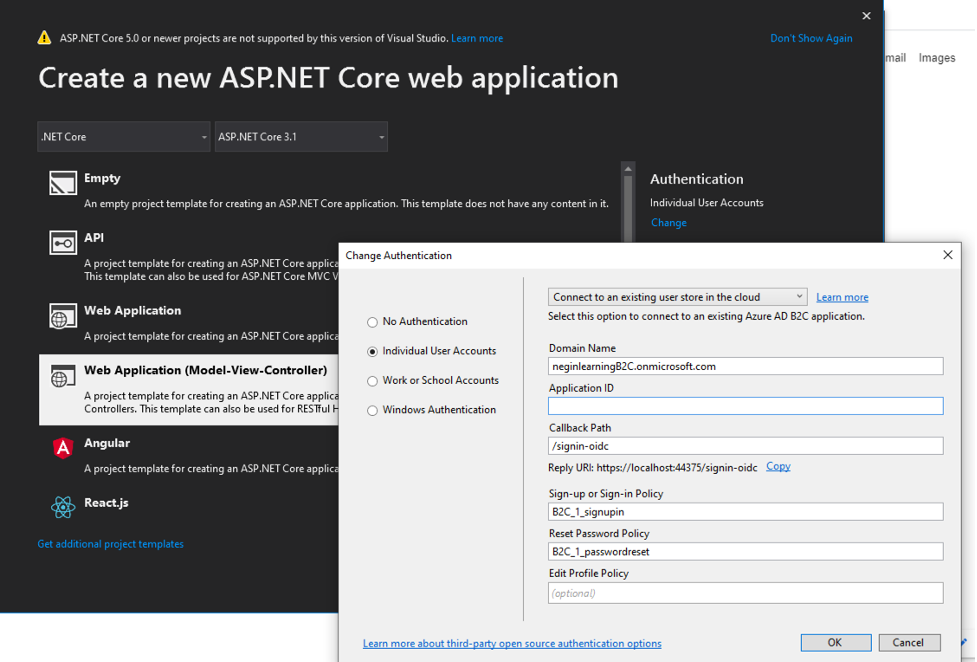
*Please note that you need to copy the “Reply URI” (in this case https://localhost44375/signin-oidc”) to the redirect url of the registered app in the active directory.

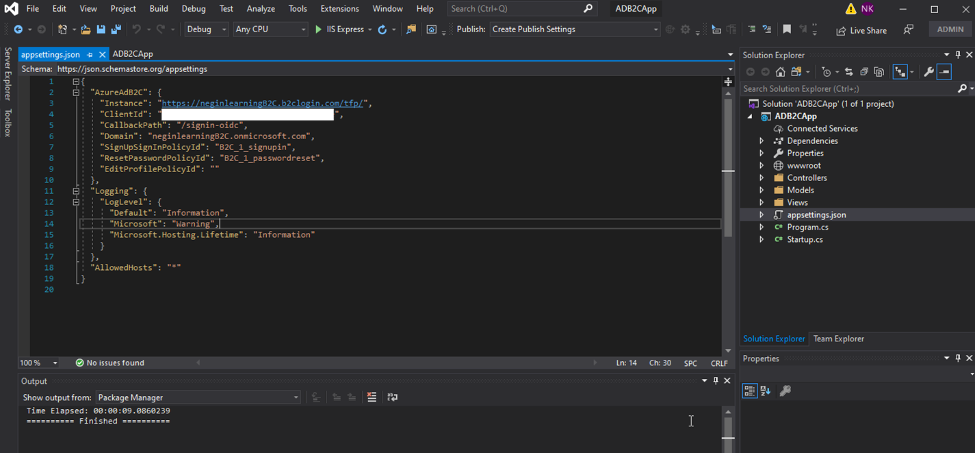
Now you should be able to see your settings in “appsettings.json” file in your .net core app project.
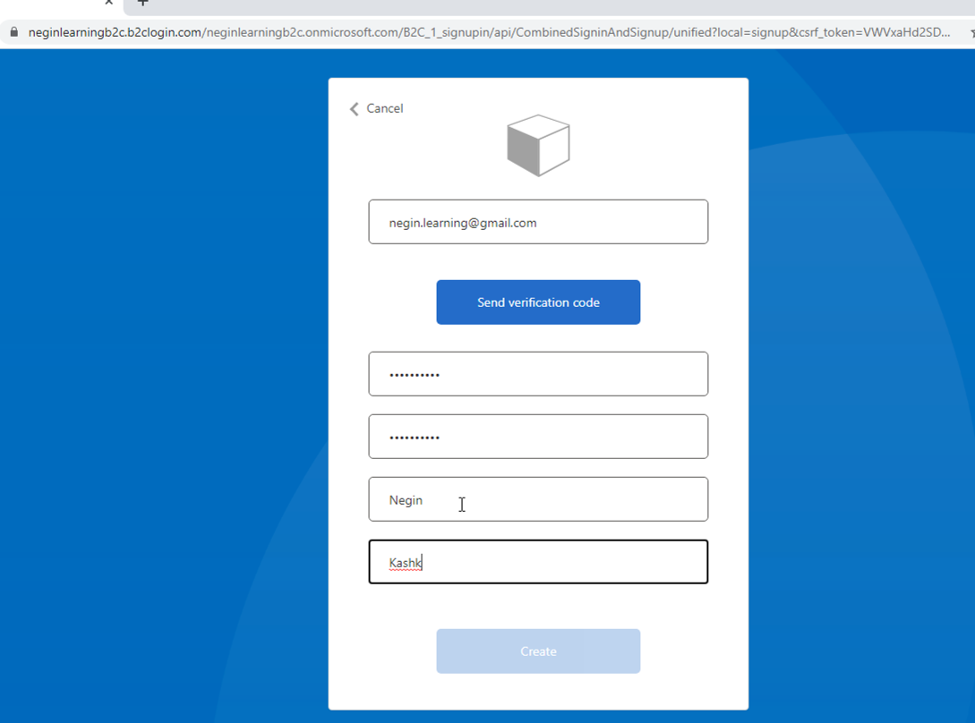
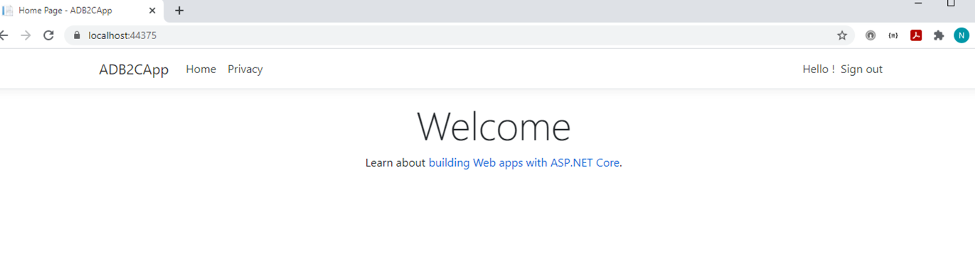
 Now if you run your application, you’ll be able to signup, sign in and sign out properly.

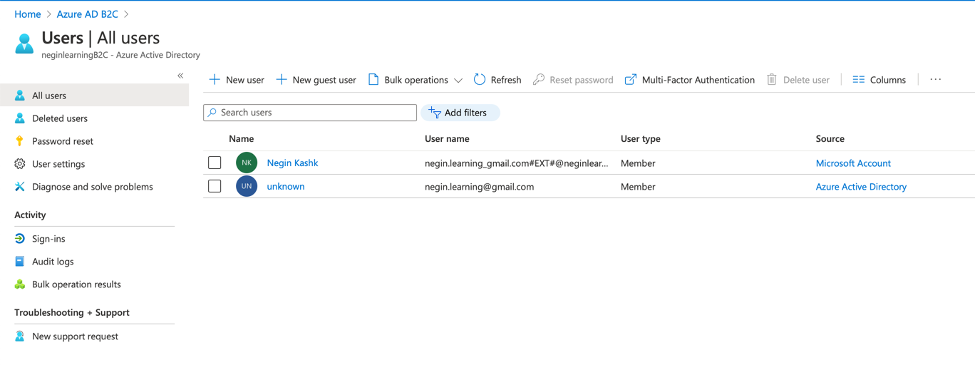
If you navigate to users in the active directory, you can see the signed up user:
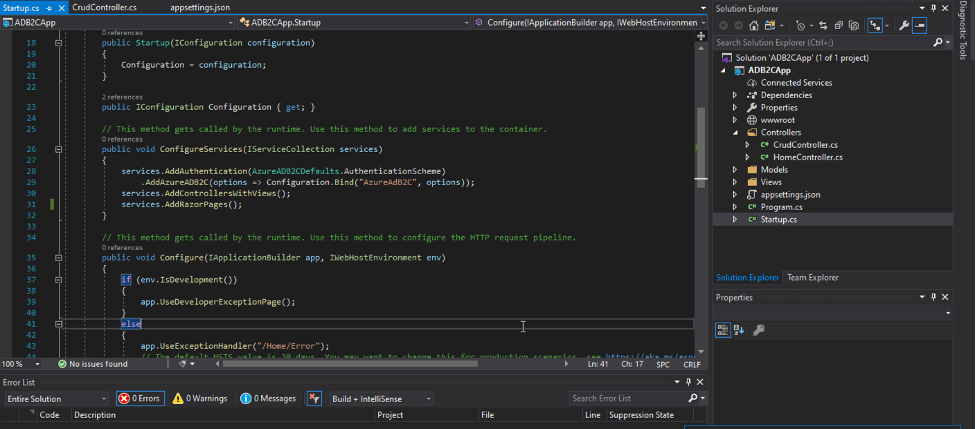
Now if you take a look at the “Startup.cs” file, you’ll see that B2C authentication has been automatically created and added to it.
You can also secure your api endpoints using “Authorize” attribute in your web services. So, if you’re not logged in, you’ll be redirected to the sign in page.

*Please note that the signup, sign in, reset password and all the other pages provided by ADB2C can be styled using CSS later on.
*Please also notice that roles and groups can be configured for authorization later.
Enjoy ;)


