April 15, 2019
Giving your users a voice Part 2: Getting technical
Upon doing this, a thought came to me. Is there any way to embed the data from a sheet into a webpage? I had a look and quickly found the Google Sheets API. I’d only need to read the data for this experiment, so I jumped into the examples on the page. Within an hour I had built a proof of concept in our prototype.
To save you the 30 minutes that I spent trying to get the Google API key and sheet integration working, I’ve got a little step-by-step guide here.
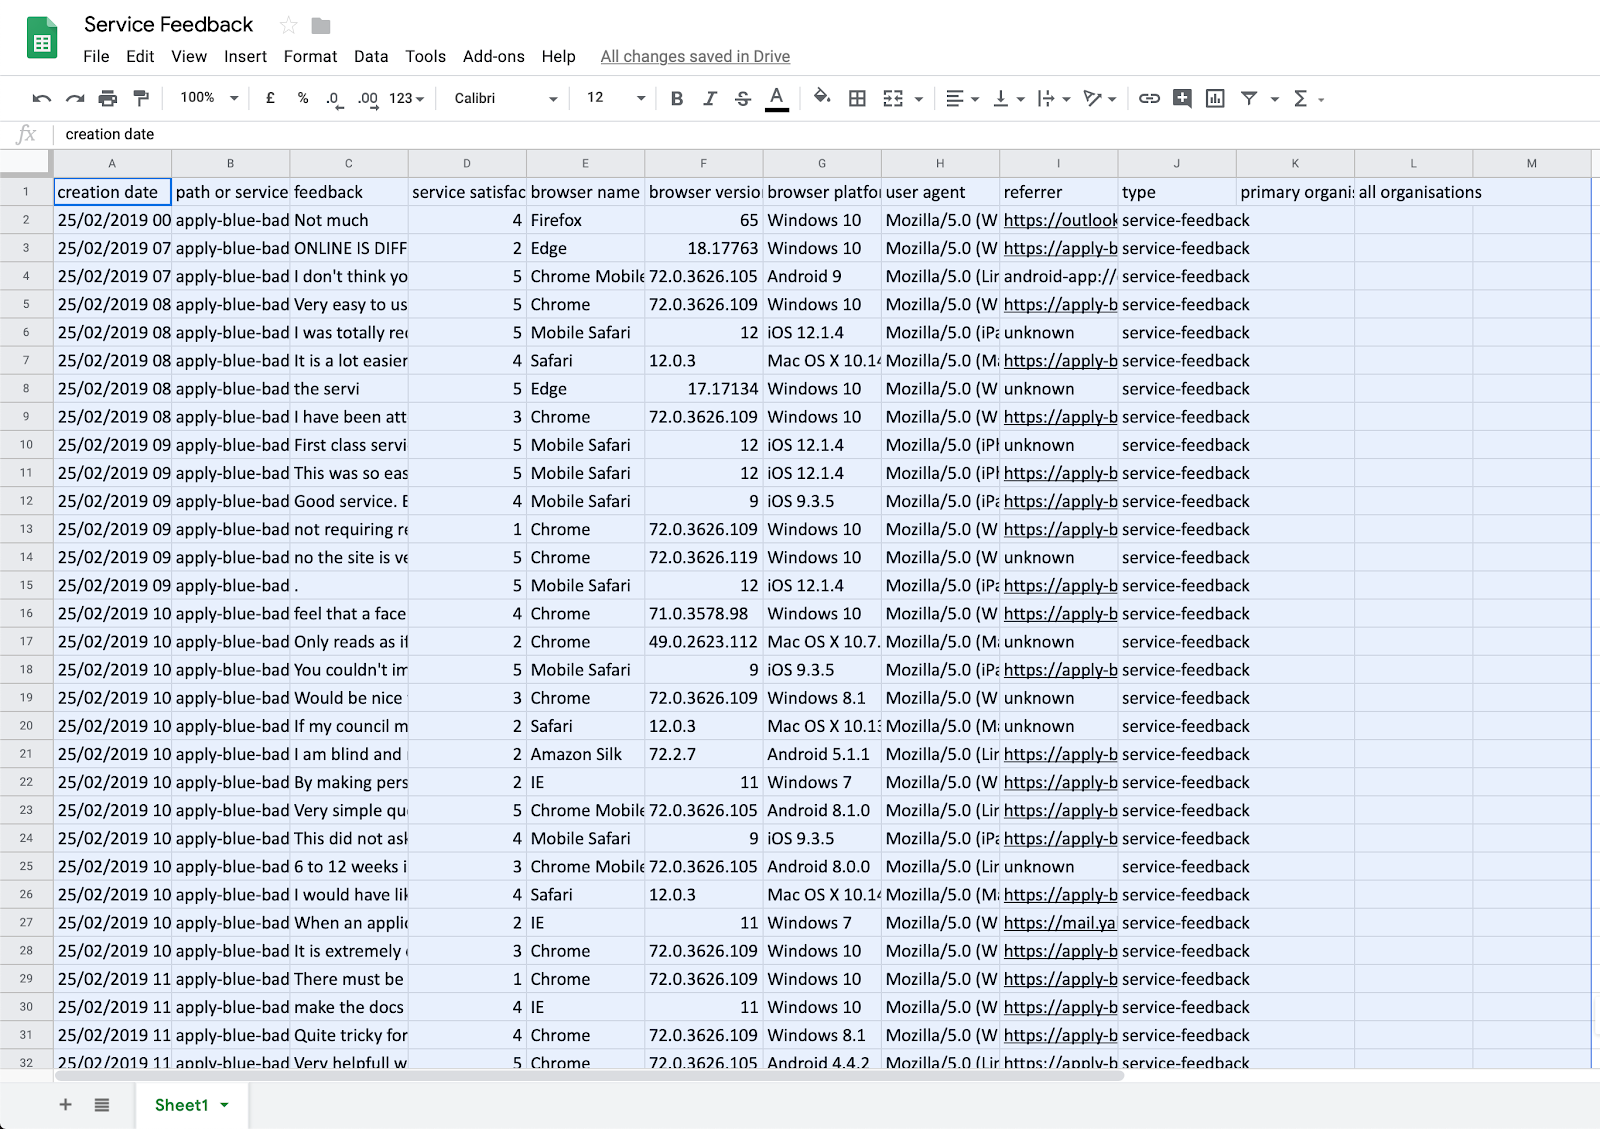
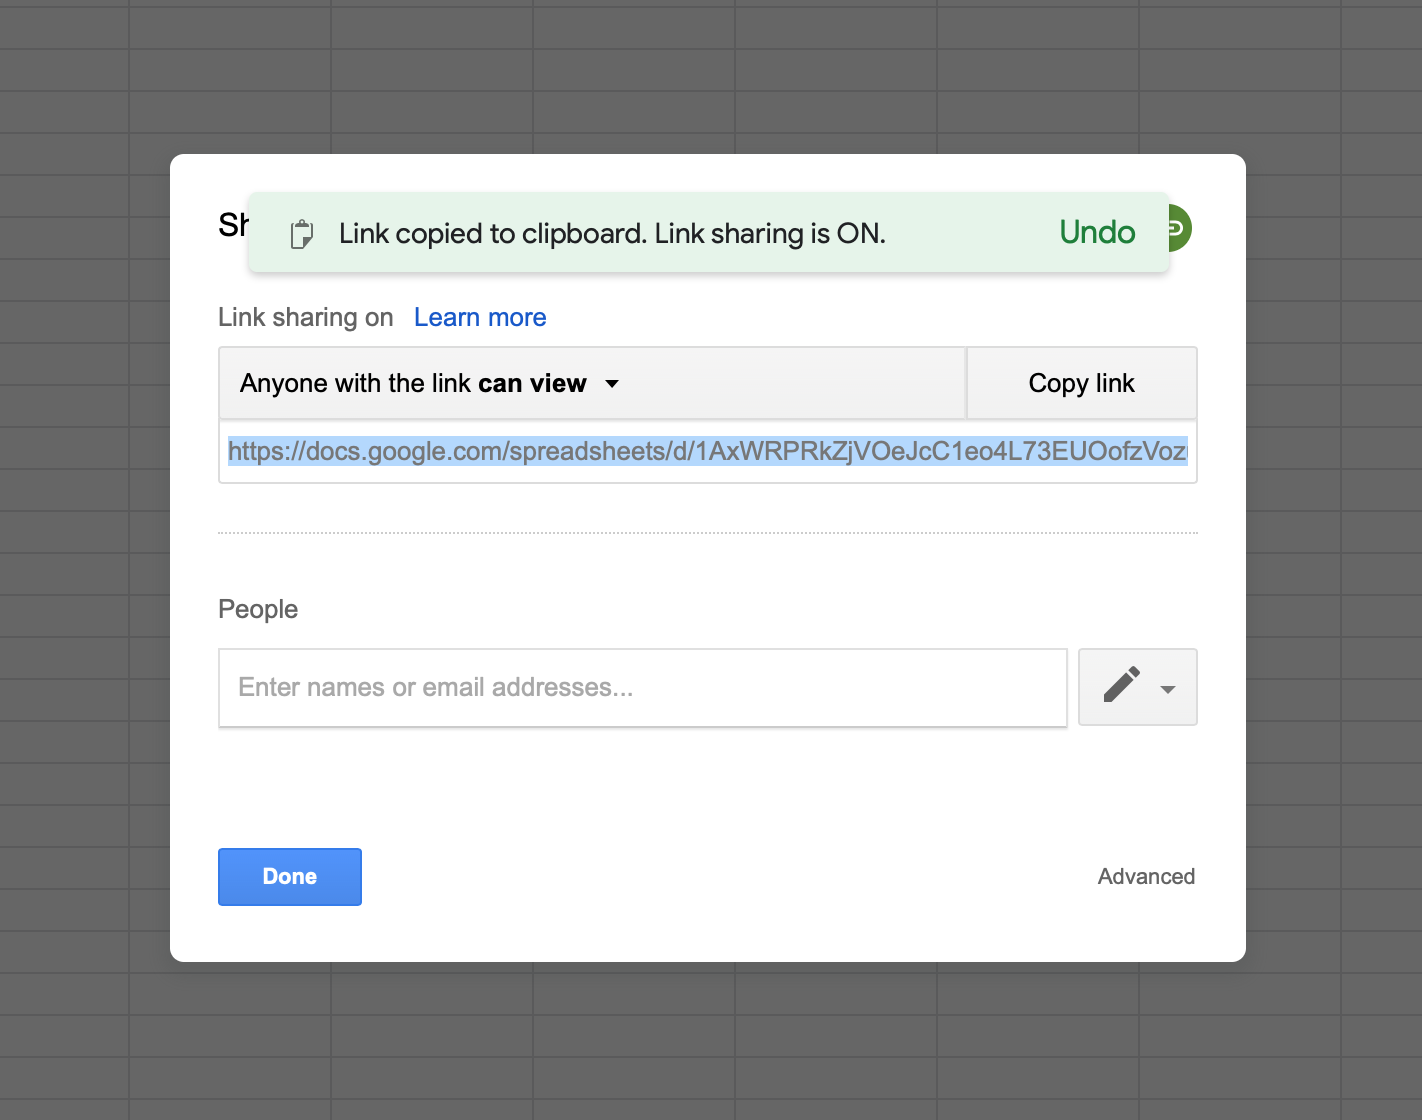
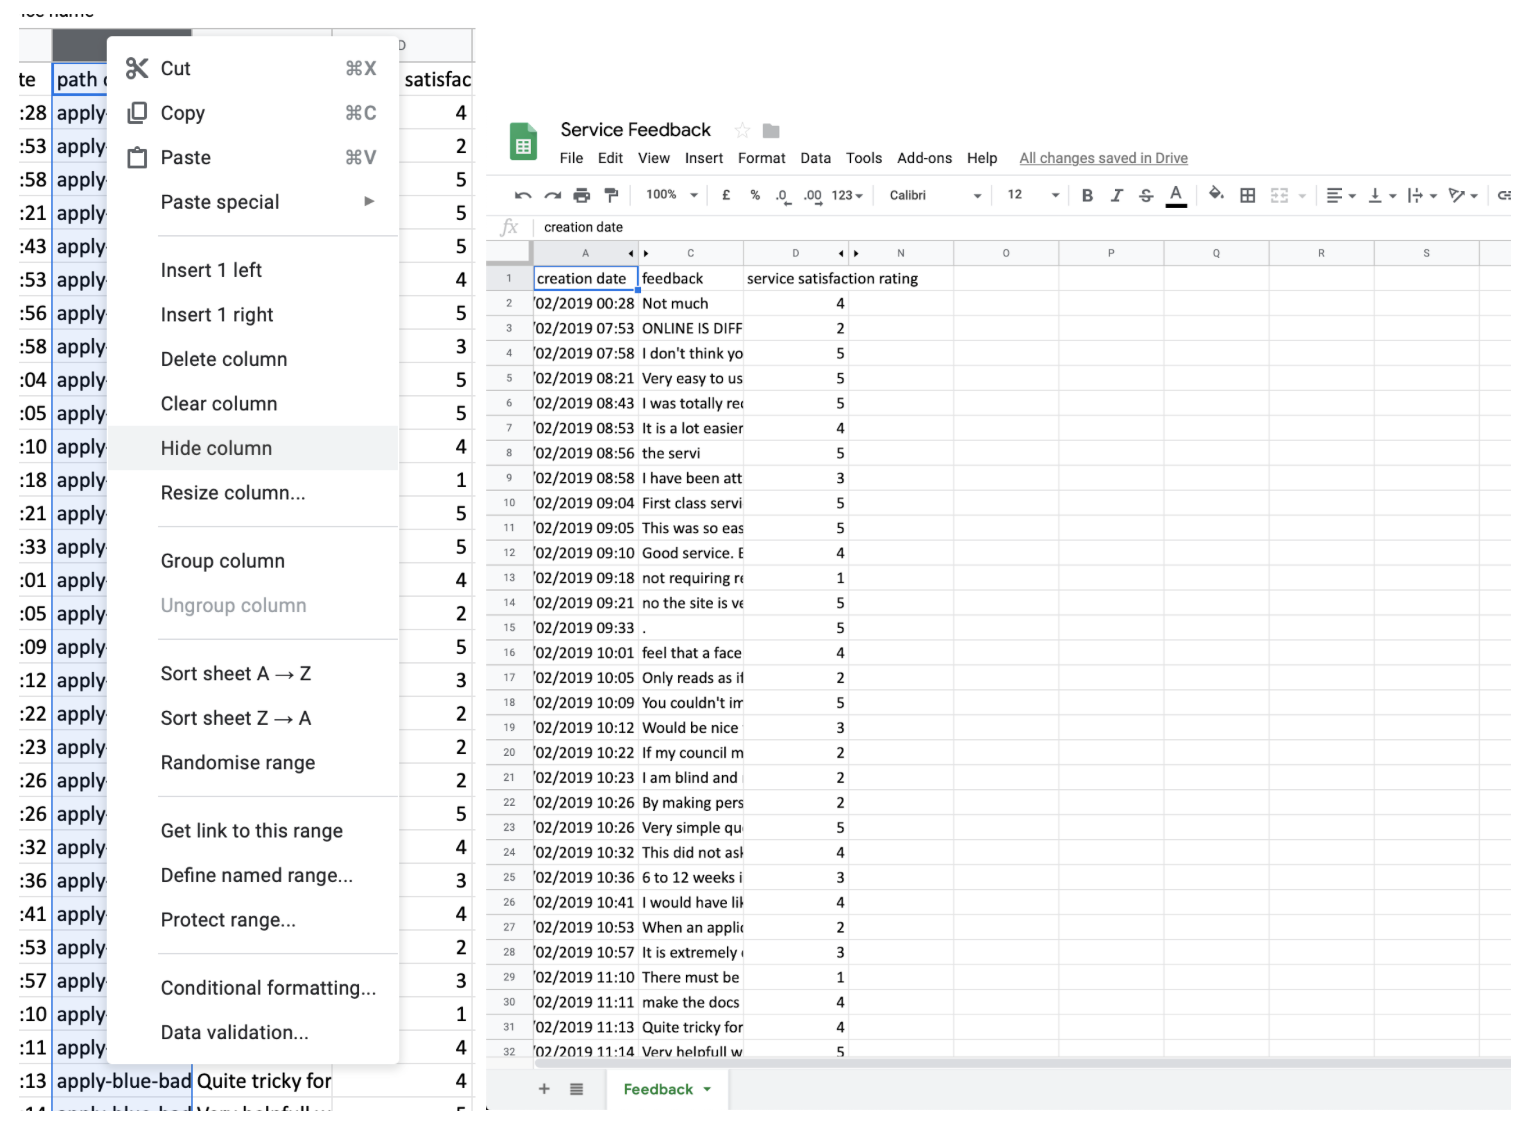
Take the whole CSV and paste it into the Google Sheet. You’ll also need to set the sheet’s sharing to “Anybody with the link can view”.
If you want to use a template to get started, I’ve built one here which you can use and make a copy of https://docs.google.com/spreadsheets/d/1iD0jE_u3jQmGnczvWR54g_L1w74RX7x9NtOInVh82fE/edit?usp=sharing. If you’ve used this, skip to “Developer setup”.
To tidy things up and help things going forward you should also do the following:
- Select the whole of column A and choose Format > Number > Plain Text
- Select columns B and E - M and “Hide columns”
- Rename the sheet to “Feedback”
- Create a new sheet called “Satisfaction score”
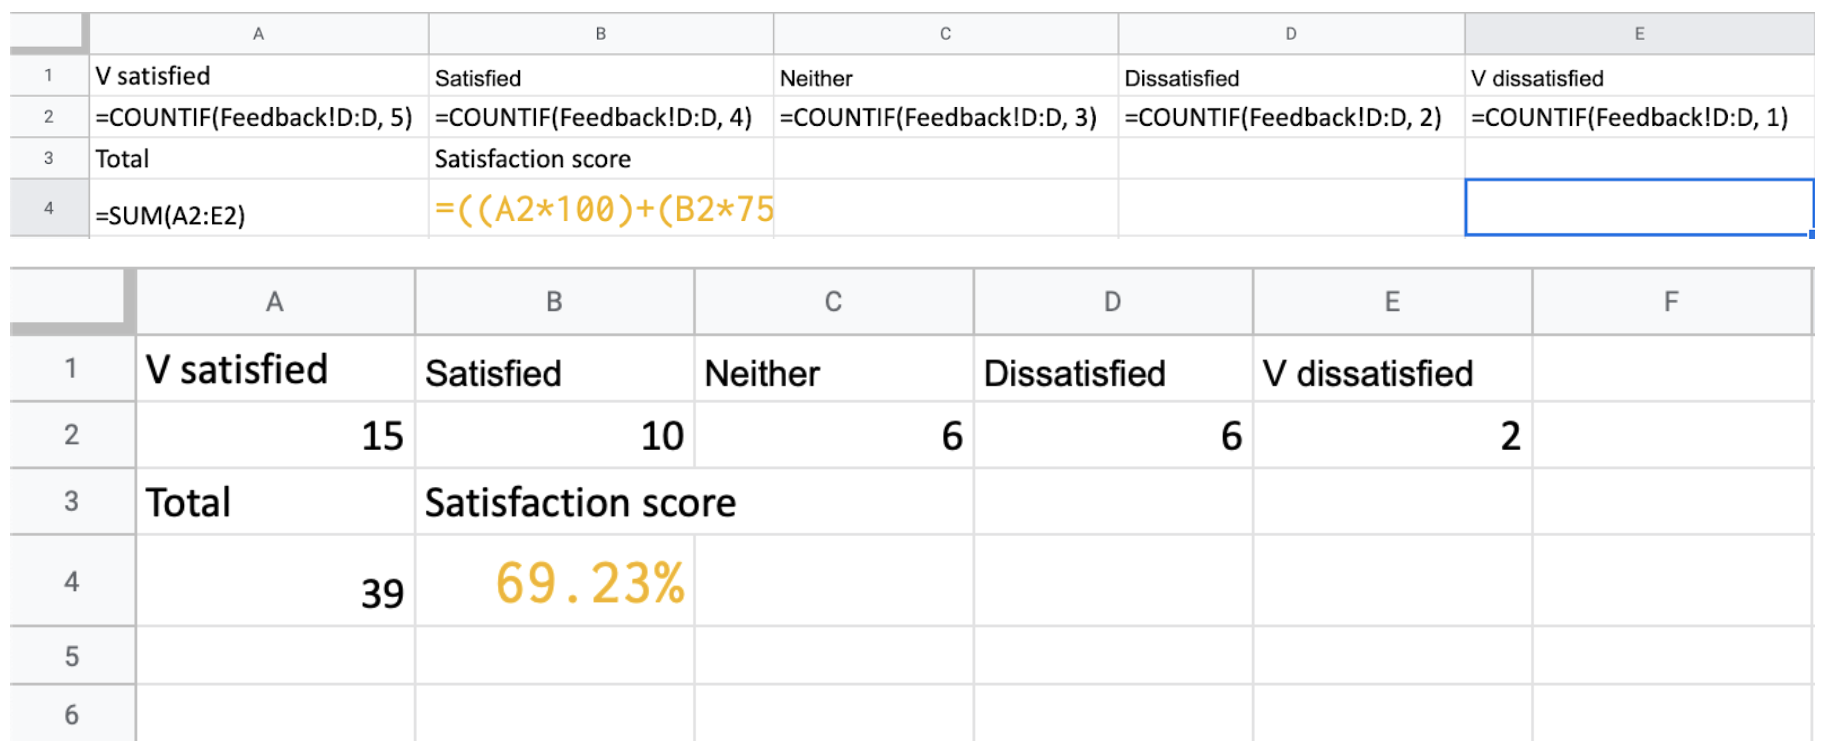
In the satisfaction score sheet put this into these cells:
- Five cells at the top for each satisfaction score type “V satisfied to V dissatisfied”
- Each of these in A2 to E2 should contain `=COUNTIF(Feedback!D:D, 5)` with 5 replaced with the respective score
- Below that you’ll need to total these cells `=SUM(A2:E2)`
- Next to that is the satisfaction score formula `=((A2*100)+(B2*75)+(C2*50)+(D2*25)+(E2*0))/A4/100`
- Change the satisfaction score format to "percentage" (%)
This should give you a satisfaction score which will update each time you paste in the feedback. On our project we also split this into a weekly score so that we can track it over time and hopefully see it improve as we release new features.
Developer setup
Now we get onto the more tricky part, the developer setup.
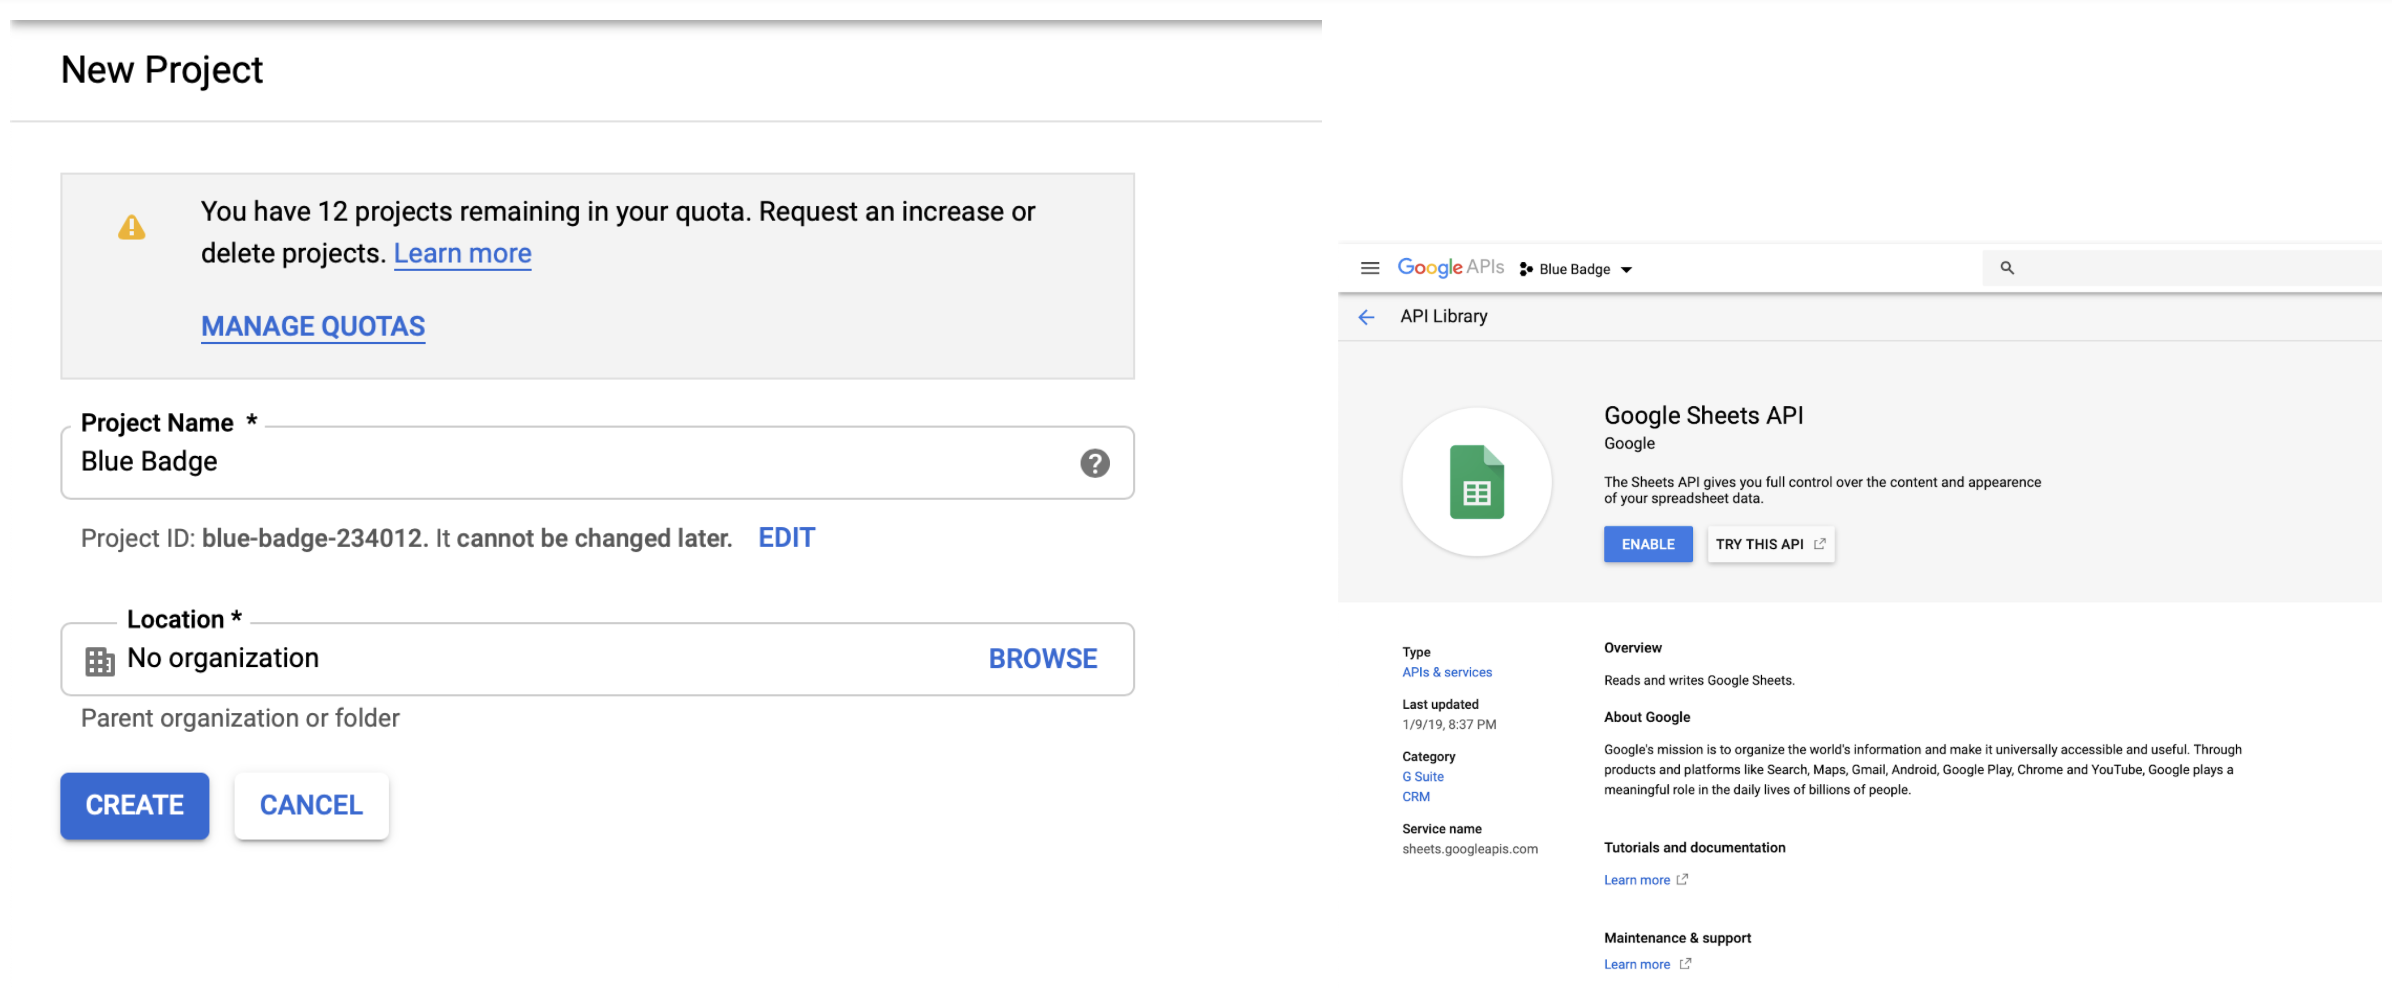
- Go to the developer console to start - https://console.developers.google.com/apis/dashboard
- Create a project, you can call it anything
- Click on “Enable APIs & Services”
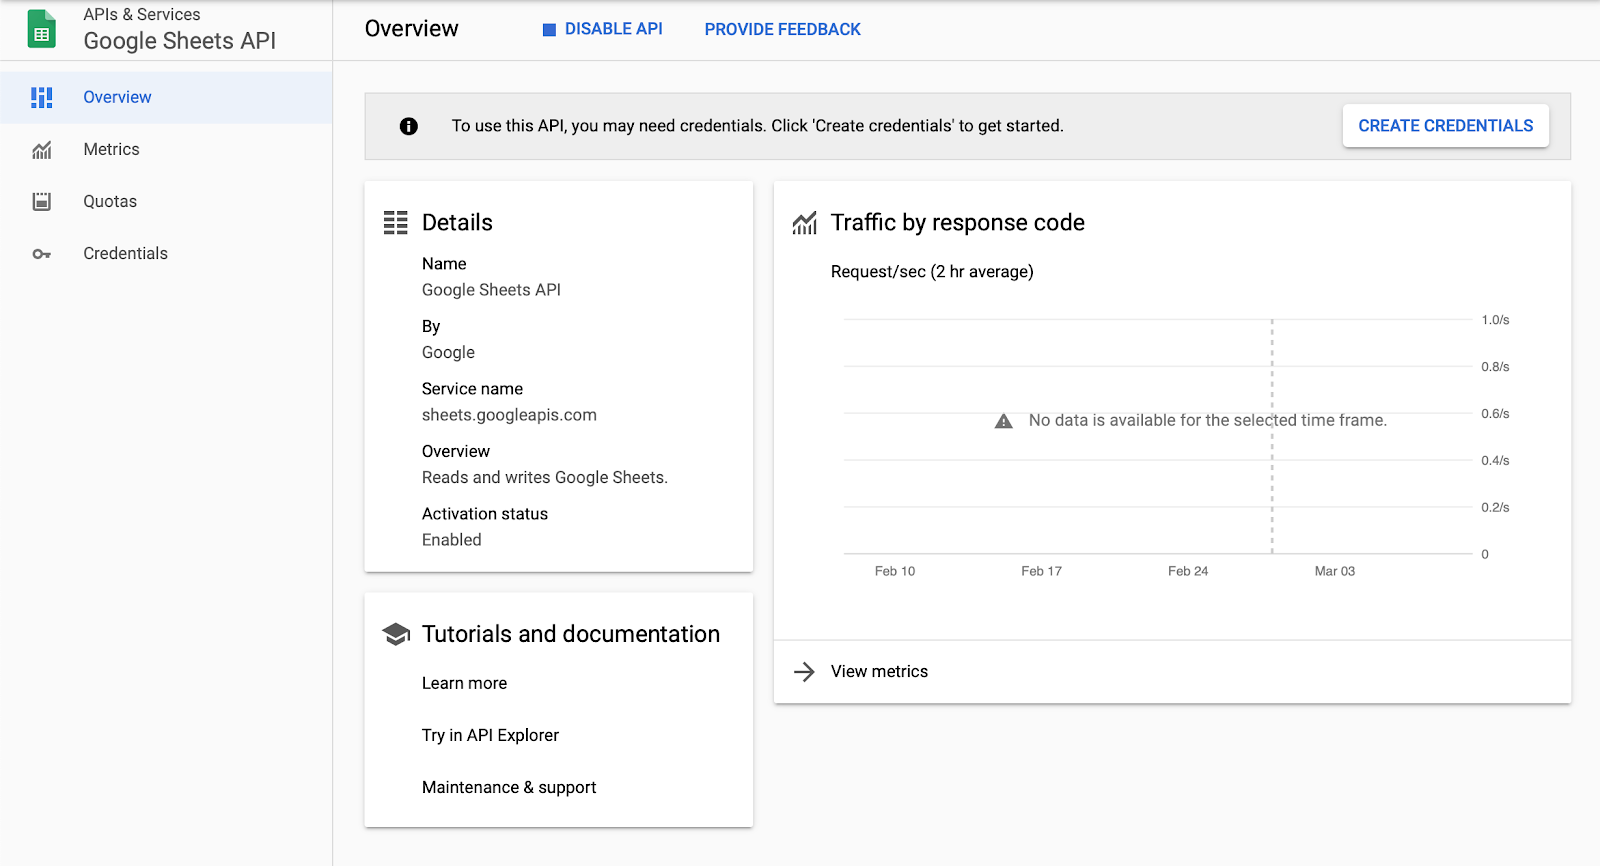
- Find “Google Sheets API” and enable it
- From the dashboard click the link on the left “Credentials”
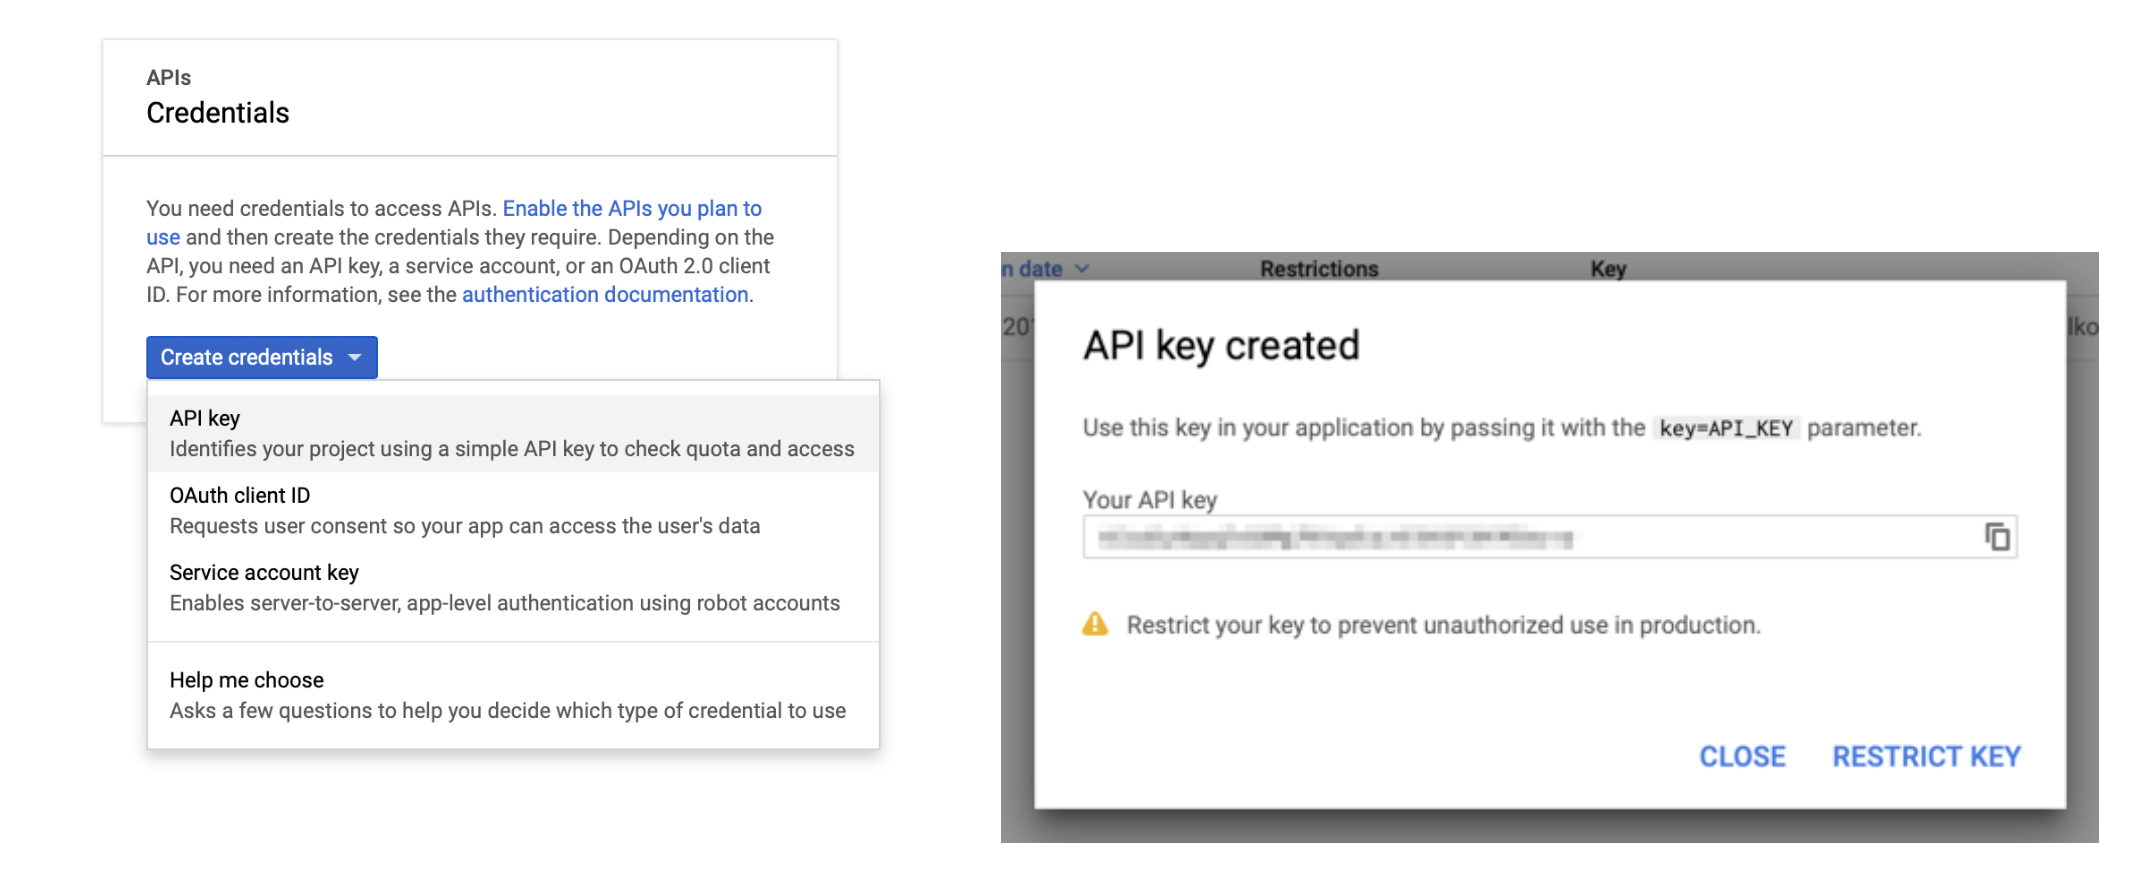
- “Create credentials” and “API key”
- You don’t need to “Restrict key” just yet
- You now have a key which you can copy, paste it into a note if you need to, or come back and grab it later
For the web page part, I made use of the GOV.UK prototype kit which we’re already using. But this should work with any setup. The only difference would be where you store your credentials. If you want to use the example project I’ve set up, I’ve created a Github repo.
Open up `server.js` and paste in the following:
var googleSheetID = process.env.GOOGLESHEETID
var googleSheetApiKey = process.env.GOOGLESHEETAPIKEY
You’ll also want them to be available locally, so paste this in too:
app.locals.googleSheetID = googleSheetID
app.locals.googleSheetApiKey = googleSheetApiKey
Open up `.env`, which should be included in `.gitignore` and not be committed to Git. You can find the sheet ID by looking at the Google Sheet URL and getting the string that is between /d/ and /edit. Paste in this at the bottom, replacing the ### with the sheet ID and API key:
GOOGLESHEETID=###
GOOGLESHEETAPIKEY=###
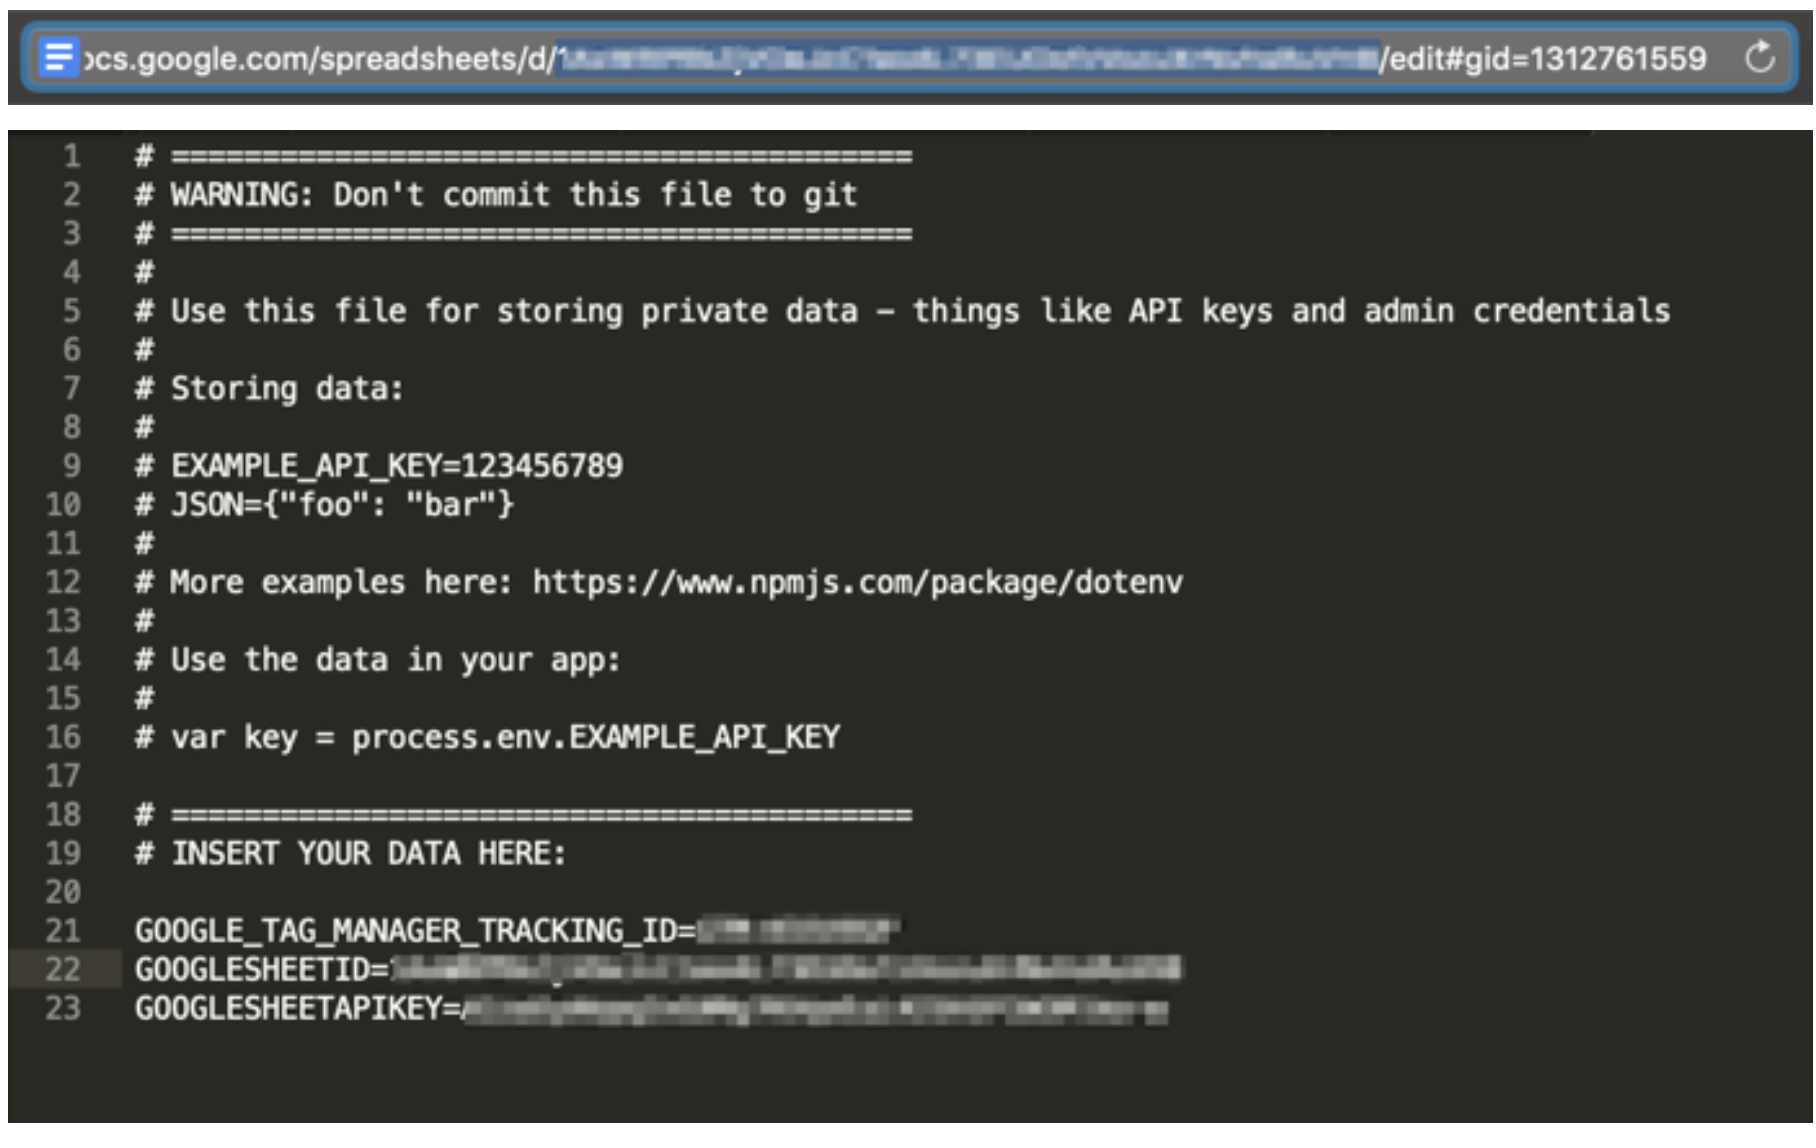
That will enable your local app to see use the variables. We also need to do the same on Heroku (where the page is hosted).
- Sign into Heroku dashboard and open up your app
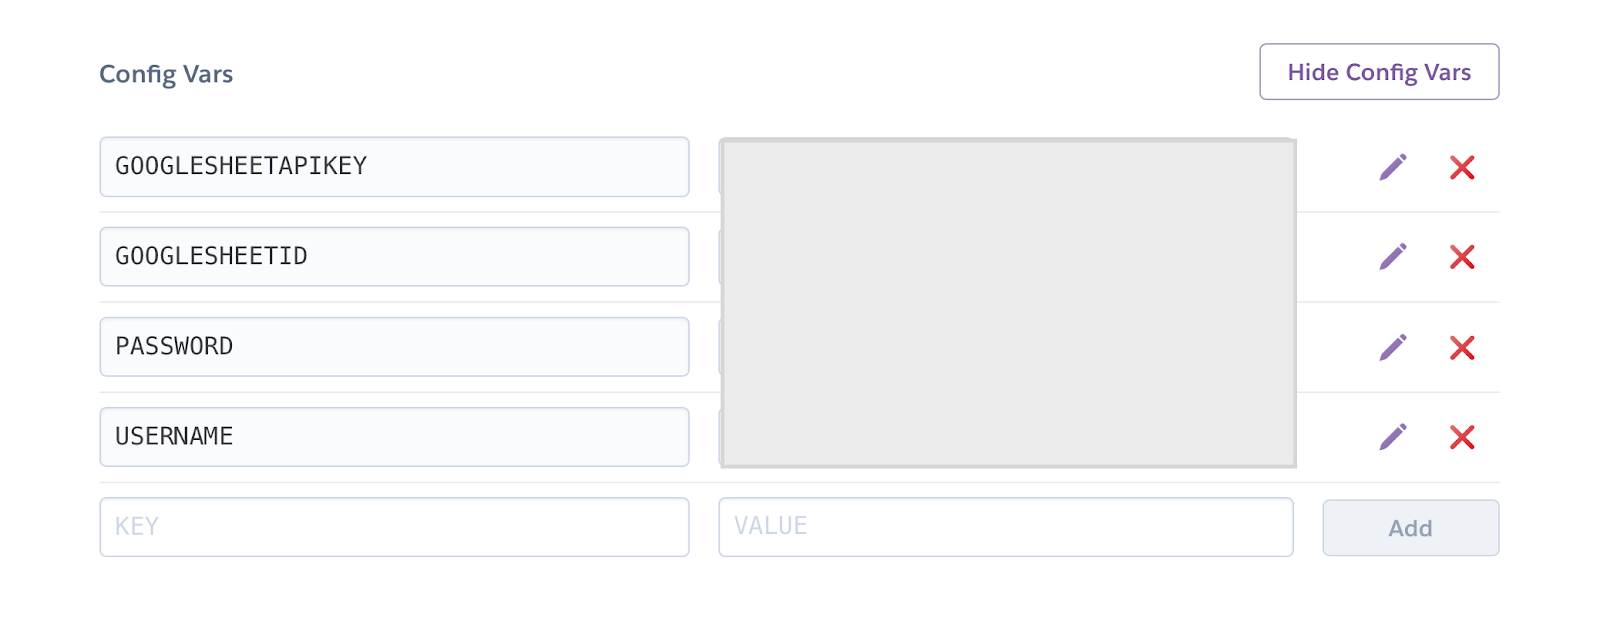
- Go to Settings and click “Reveal config vars”
- Add in a key for each variable and save, in the same way as we did in `.env` - see screenshot