Step 1: Log in using the default admin account
Step 2: Open the User Manager
Step 3: Click on the New button in the ribbon

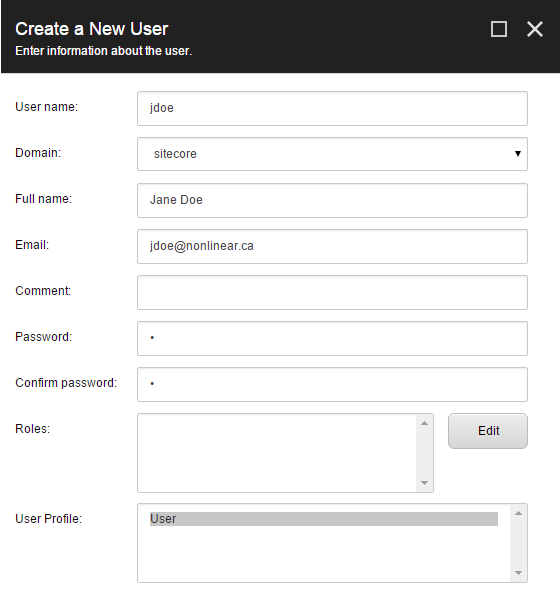
Step 4: In the Create a New User wizard, enter the user's metadata as required. Remember, there is no need to assign the user any roles at this stage.

Step 5: Click the Next button.

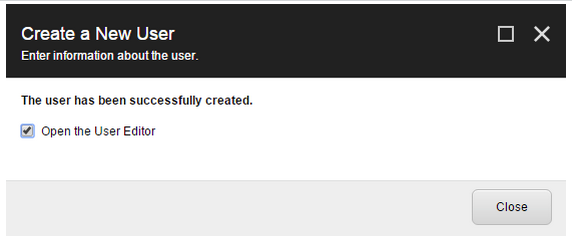
Step 6: This dialogue gives you the option to Open the User Editor. Check the box before hitting the Close button. This is typically the step that people miss.

Step 7: Should you miss this checkbox in the previous step, you can always access the User Editor wizard by finding the account you just created and clicking on the Edit button in the User Manager ribbon.

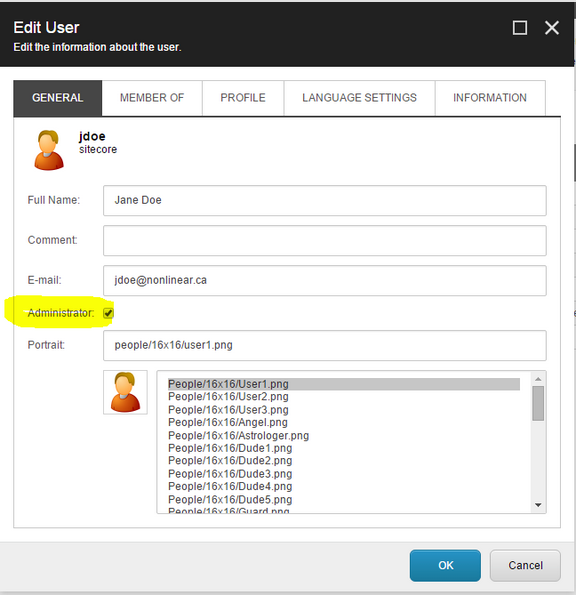
Step 8: The General tab of the User Editor wizard has a checkbox for Administrator. This is the option that grants Sitecore Administrator privileges to the user account. Make sure it is checked and then click OK.

The main source of confusion people have when creating a Sitecore Administrator account is the expectation that a Sitecore Administrator is created by assigning role to a user account, which is clearly not the case. Even if you assigned all of the out of the box Sitecore roles to a user, the user would still not have access to features that are gated by the Administrator checkbox such as the cache clearing or showconfig pages.


