


From the point of looking at these resources for the first time, alongside the instructions provided for use with the sample apps here, I’d estimate the learning curve is around 5–10 hours, depending on how familiar you are with app development, v4 SDKs etc. Worth noting that I’d never seen an Xcode project before I started researching the AEP SDKs, so I can assure you that no prior experience is required.
Below is an overview of the steps required to configure a launch property for the AEP SDKs. This provides the foundation for the hands-on code implementation, which will be covered in separate articles.
#1 Create a Mobile Property
The options here are pretty straightforward, the main things to consider are what the default Privacy configuration should be and whether you think you will be going down the extension development route. In terms of the Privacy setting, you can handle this programmatically anyway (see more here), so you don’t need to worry too much about this setting.

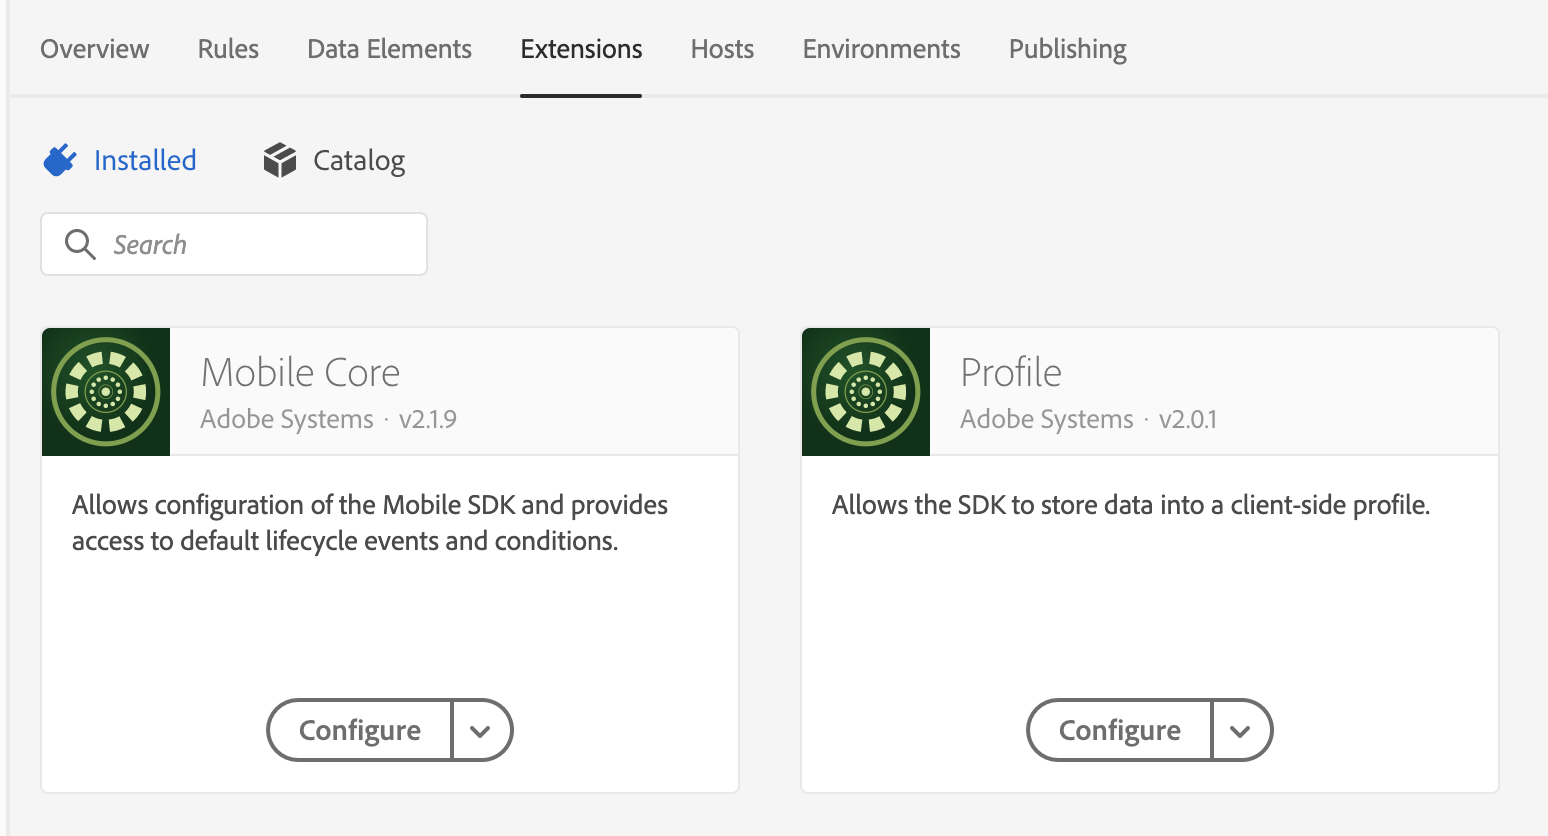
#2 Default Extensions
By default, your property will have the Mobile Core & Profile extensions installed. Within the Core configuration you can change the session timeout setting, which has a direct impact on how Lifecycle tracking works (e.g. what period of inactivity should there be before a new Launch event is counted). There are no configuration options within the Profile extension, so you don’t need to worry about that.
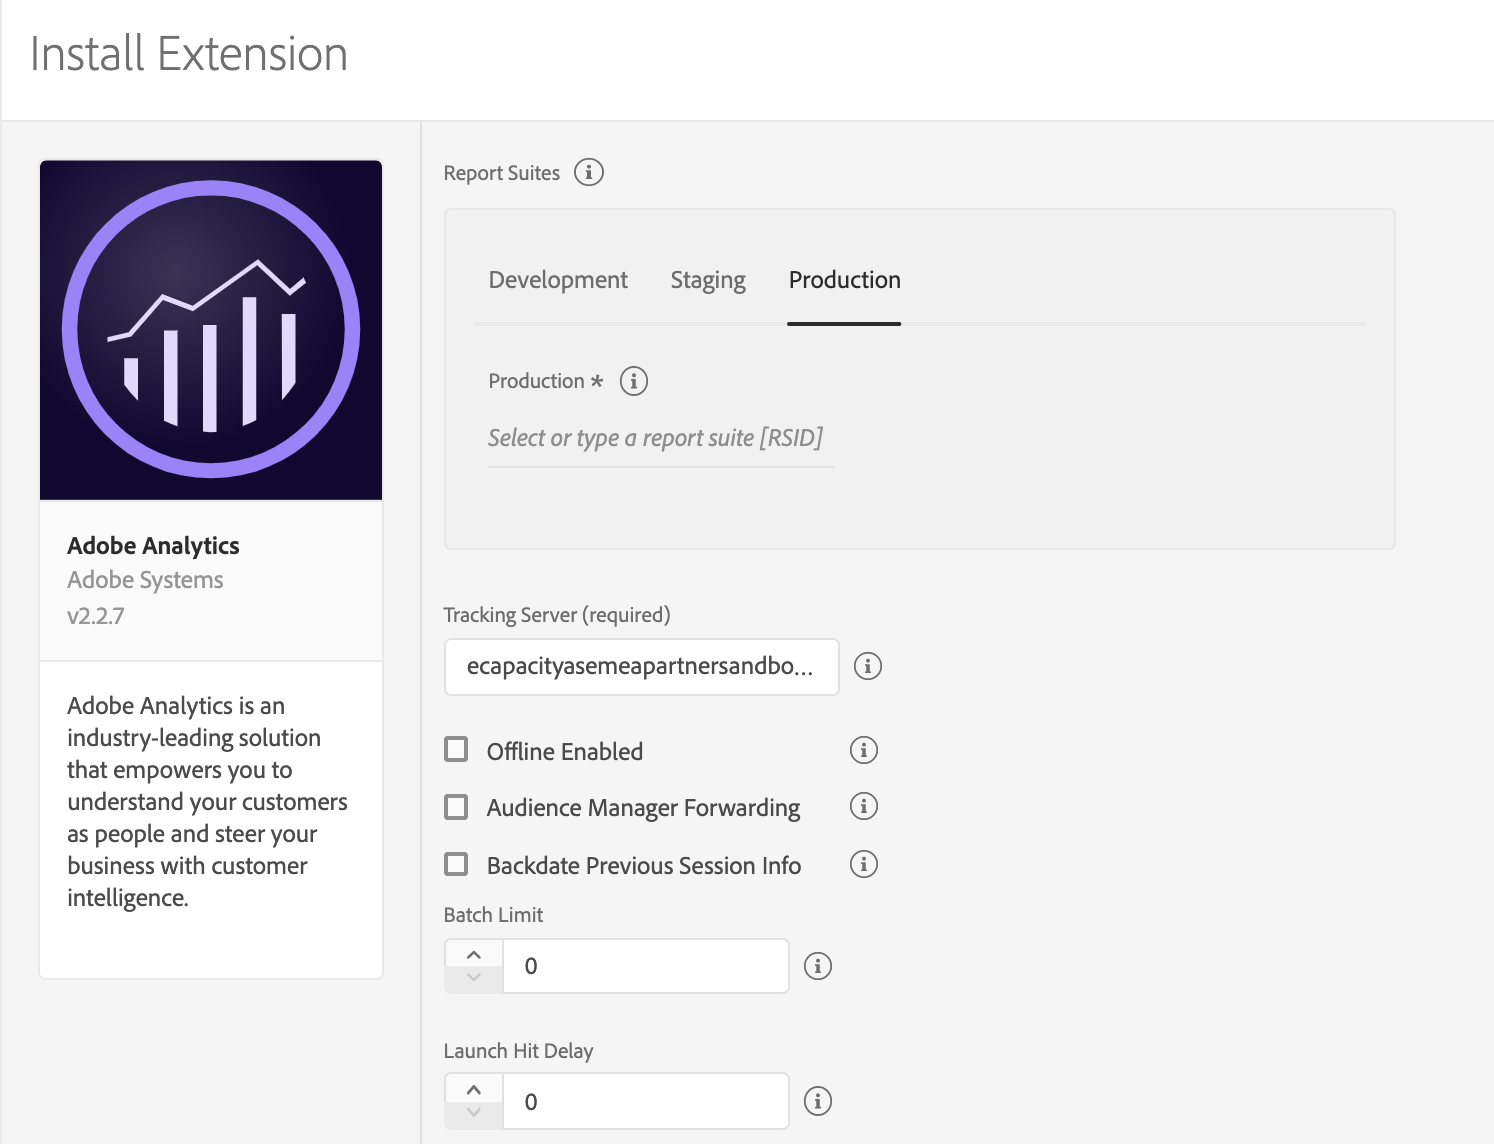
#3 Adobe Analytics
For those familiar with the v4 SDKs, the options won’t come as much of a surprise. As with the AA extension in a web property, this is where you will set your report suites for each environment. All of the existing report suites will appear in a dropdown when you start typing, so if you have already created your mobile app suite then it’s as simple as selecting it from the dropdown list.
Selecting the Offline Enabled option will queue up hits until a connection is made, which is generally a sensible option, but the report suite must be timestamp enabled if you want to make use of this functionality. The other options are fairly self-explanatory but there’s plenty more information here if you’re not quite sure of the impact of each setting.
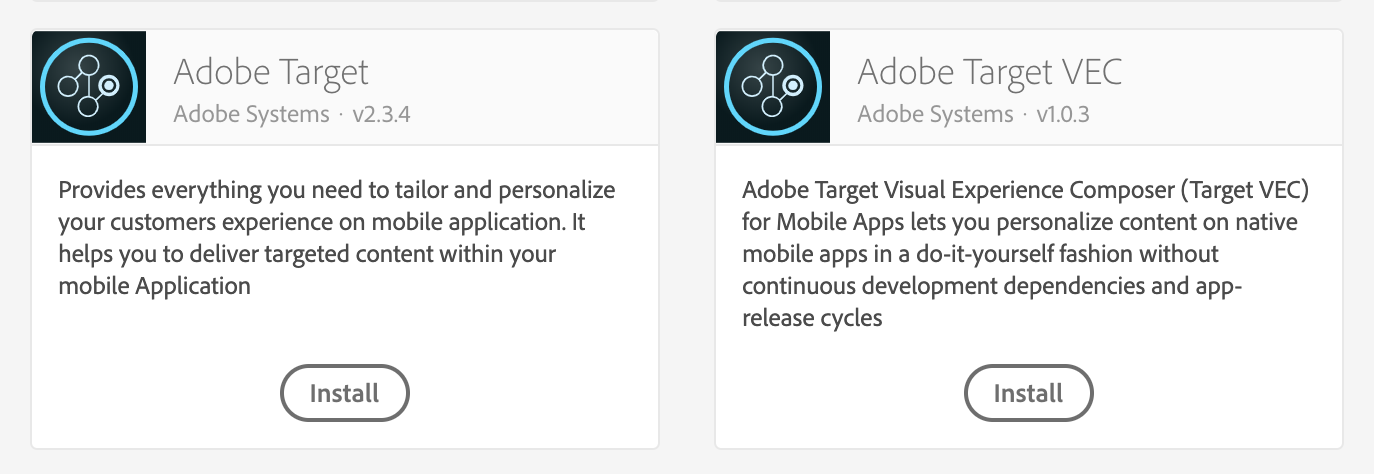
#4 Adobe Target
One of the big selling points of the AEP SDKs is that they include the same Visual Experience Composer (VEC) concept that’s been in existence for some time when using Target on a website. I say concept rather than functionality because the options are a lot more limited for apps, so don’t expect to be able to completely re-design your entire view layout like you can for web pages. However, if your testing and personalisation activities are focused around image/copy changes then this is a really useful feature.
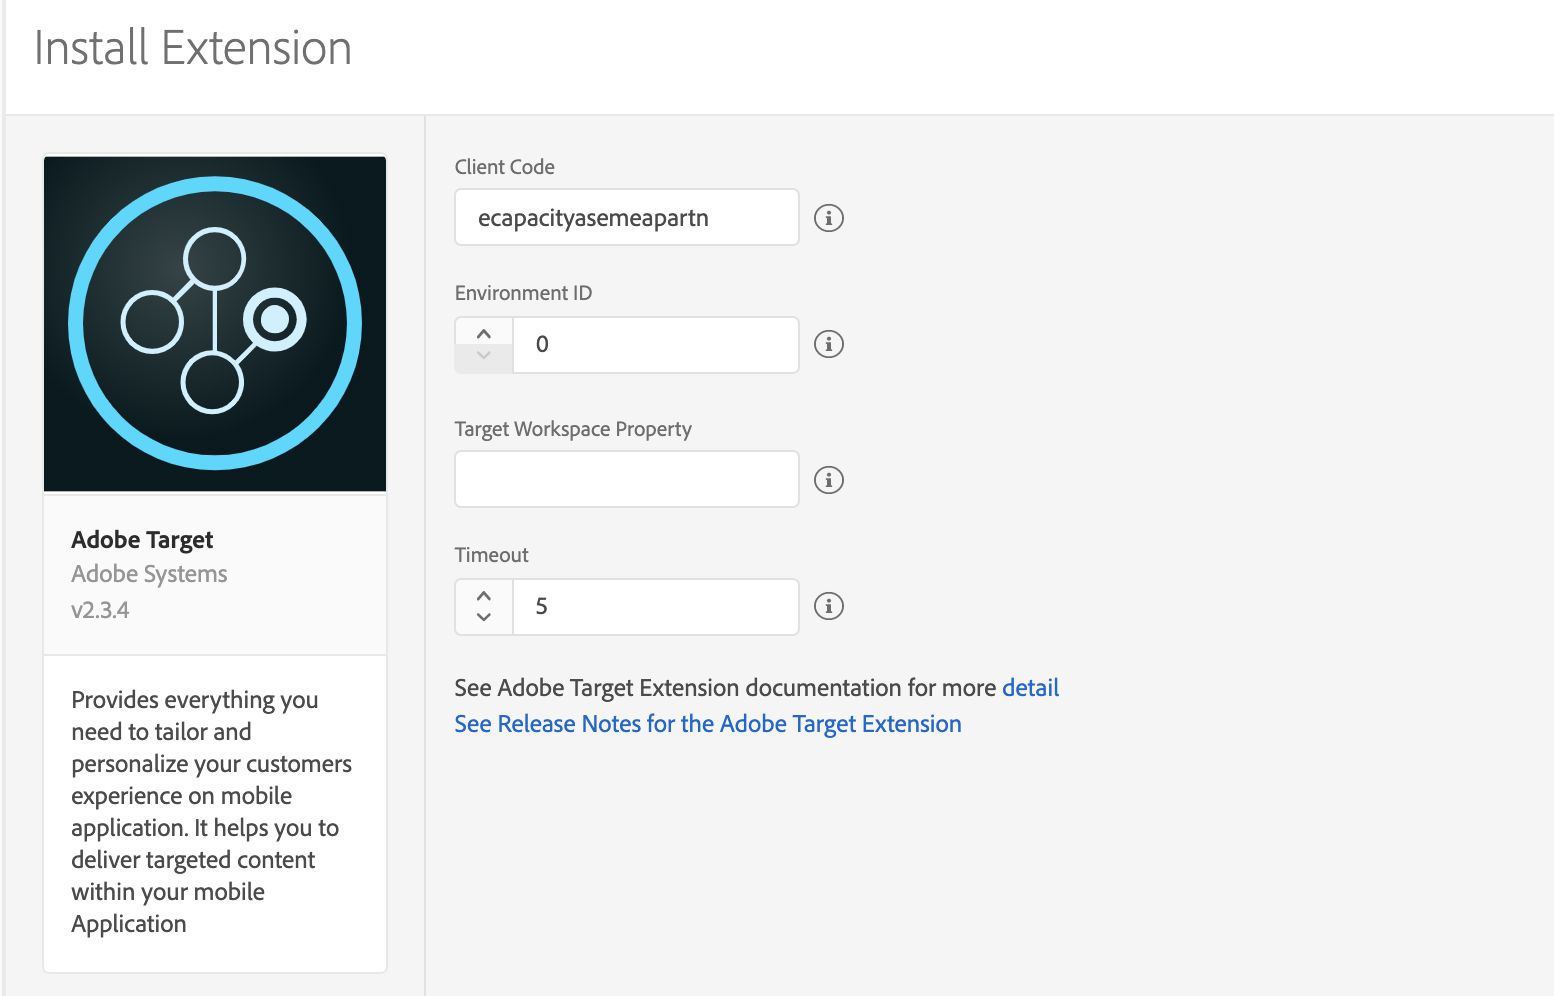
Target Core Extension
Even if you just want to use the VEC approach, the main Adobe Target extension is a pre-requisite, so you’ll need to install that first. The configuration options are similar to the web extension, and your Client Code should be populated automatically, so the only considerations are whether you want to include a Target workspace property token and/or change the timeout setting.
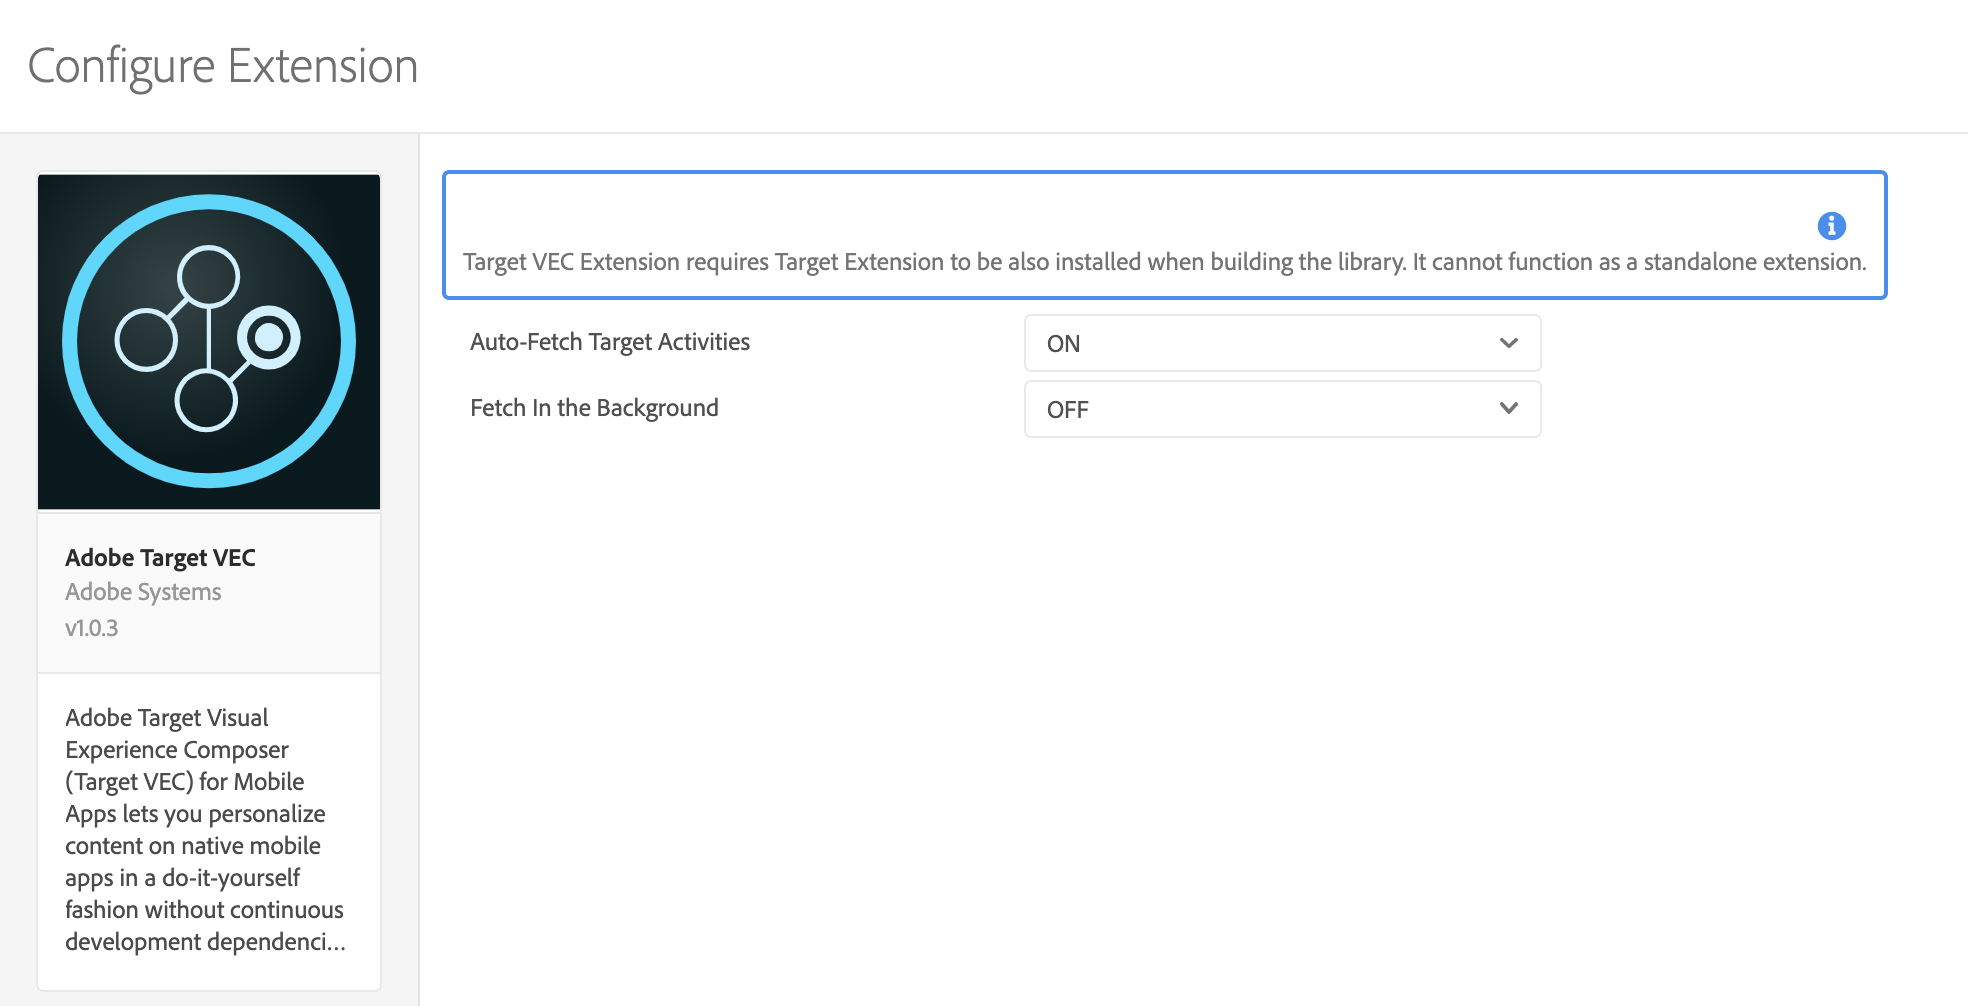
Target VEC Extension
Initially there is only one configuration option for this extension, which lets you decide whether you want Target to automatically retrieve activity content that the user qualifies for. If you don’t want this to happen automatically then it’s something that can be handled programmatically, but in most cases, it would make sense to have this setting enabled.
With Auto-Fetch enabled, another option will appear which lets you choose whether you want the activity content to be applied automatically or not. If you enable this setting, then the offer content will be applied when you trigger Target Views within your app.
#5 Validation
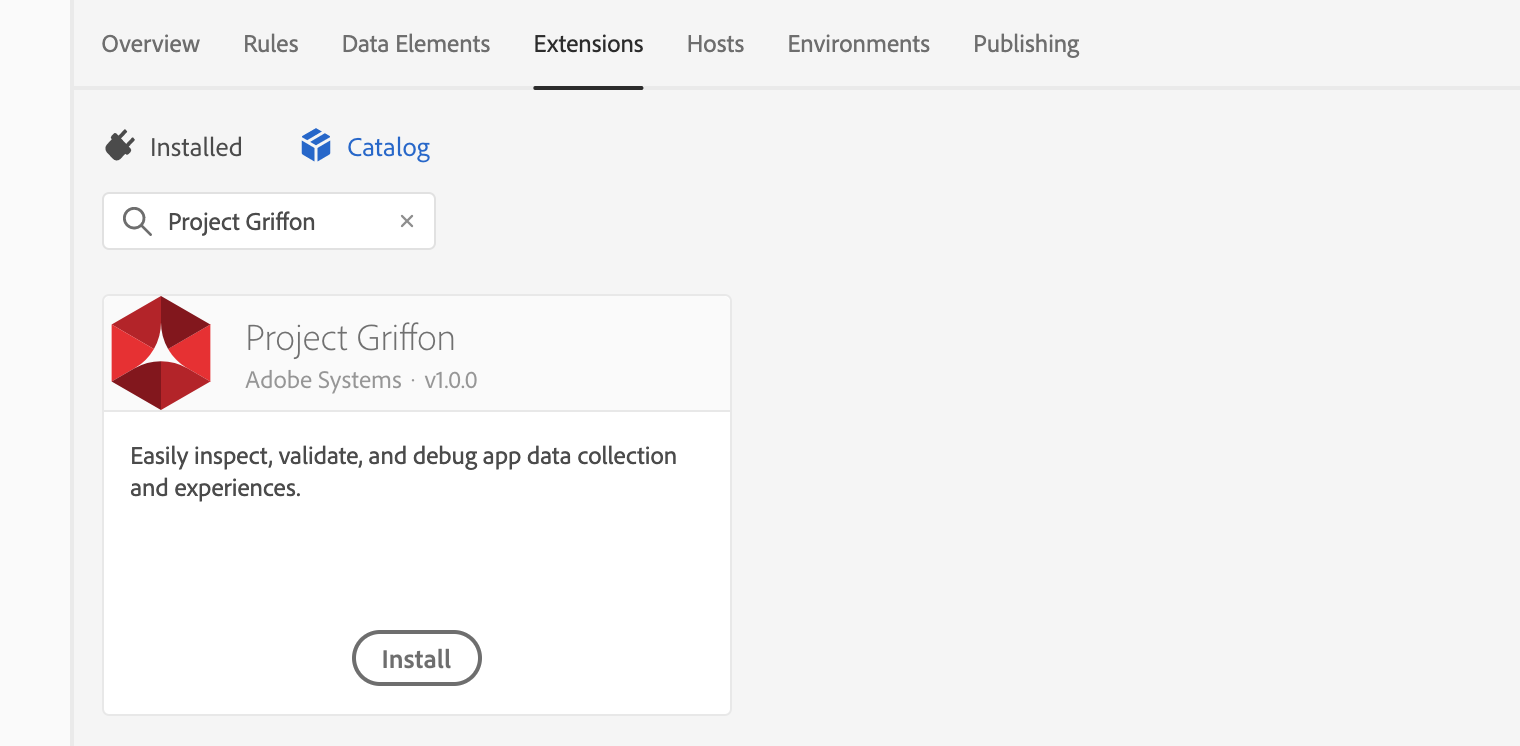
Anyone that’s spent time wrestling with Charles Proxy will be delighted to hear that there is now an in-built app validation tool. There is absolutely nothing to configure, so from a Launch point of view it’s just a question of clicking the Install button. I’ll cover the implementation and use of Griffon in a separate post but in the meantime I’d recommend joining the Slack group as updates are happening fairly frequently.
The End of the Beginning
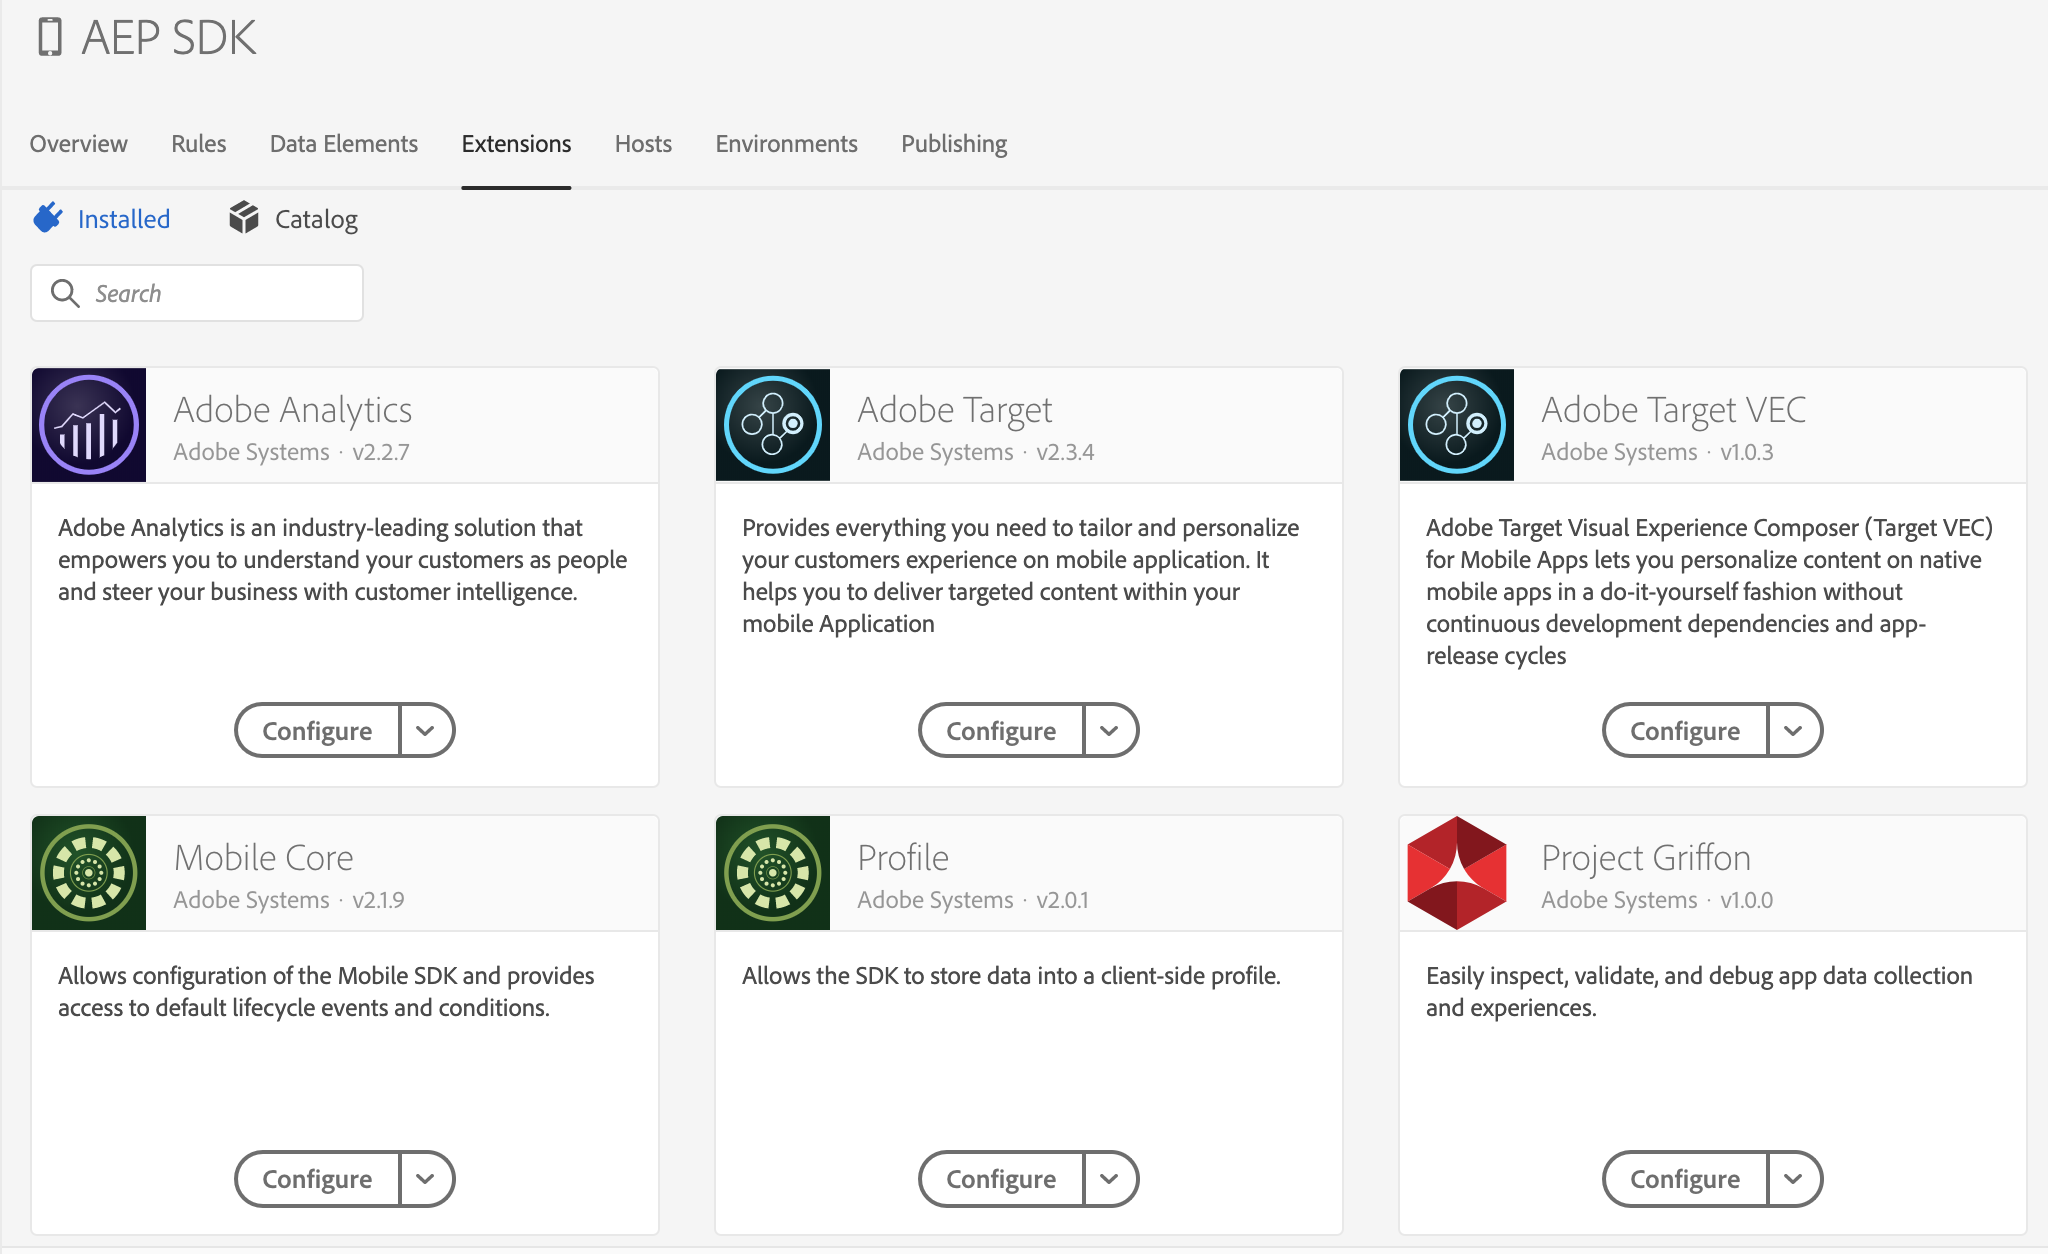
By this point you’ll hopefully have a Launch property that looks something like this but of course this depends on which products you are using (there are also Campaign & Heartbeat extensions, for example).
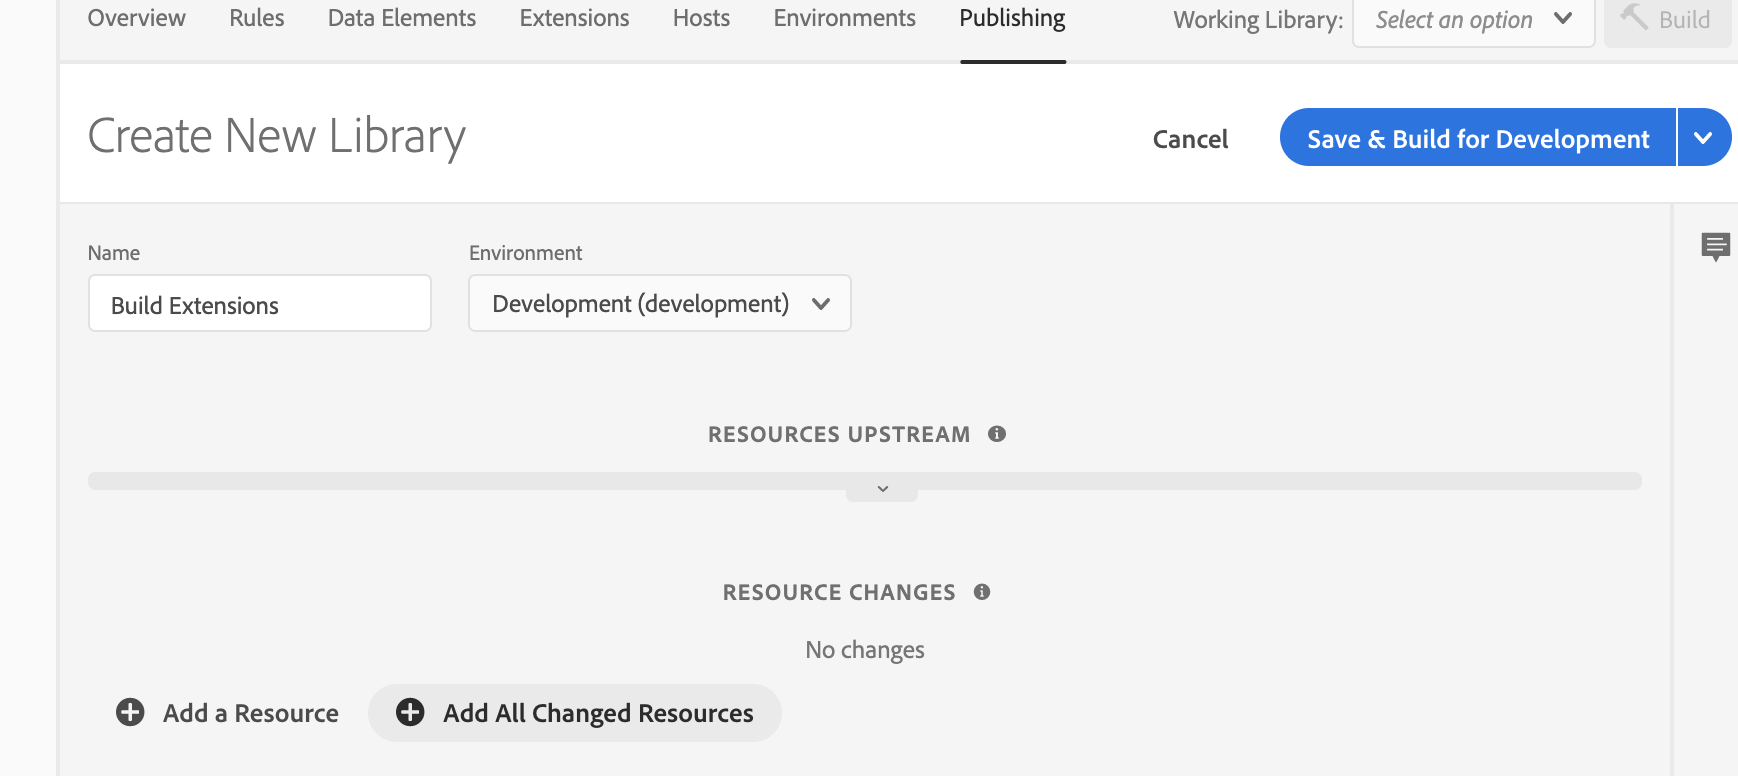
Onto the last few steps of the Launch configuration now, the first of which is to create a new development library:
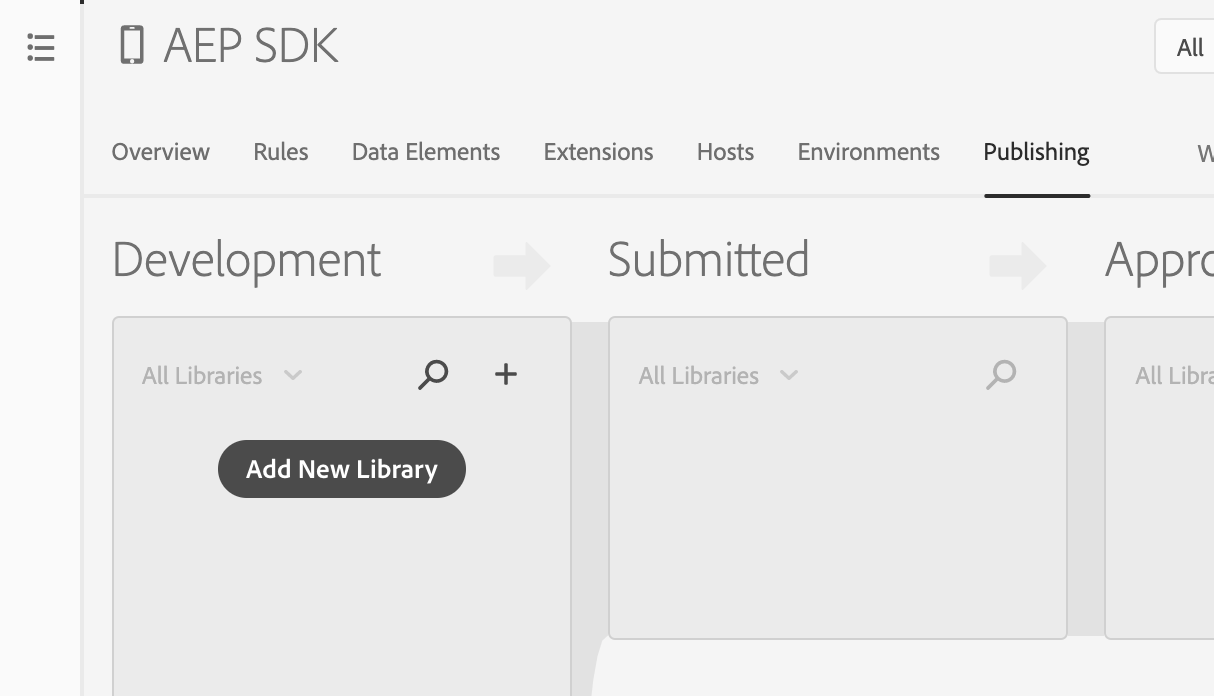
Next you can give that new library a name, attach it to the development environment and click “Add All Changed Resources”:
With all the resources added, the final step is to click “Save & Build for Development”:
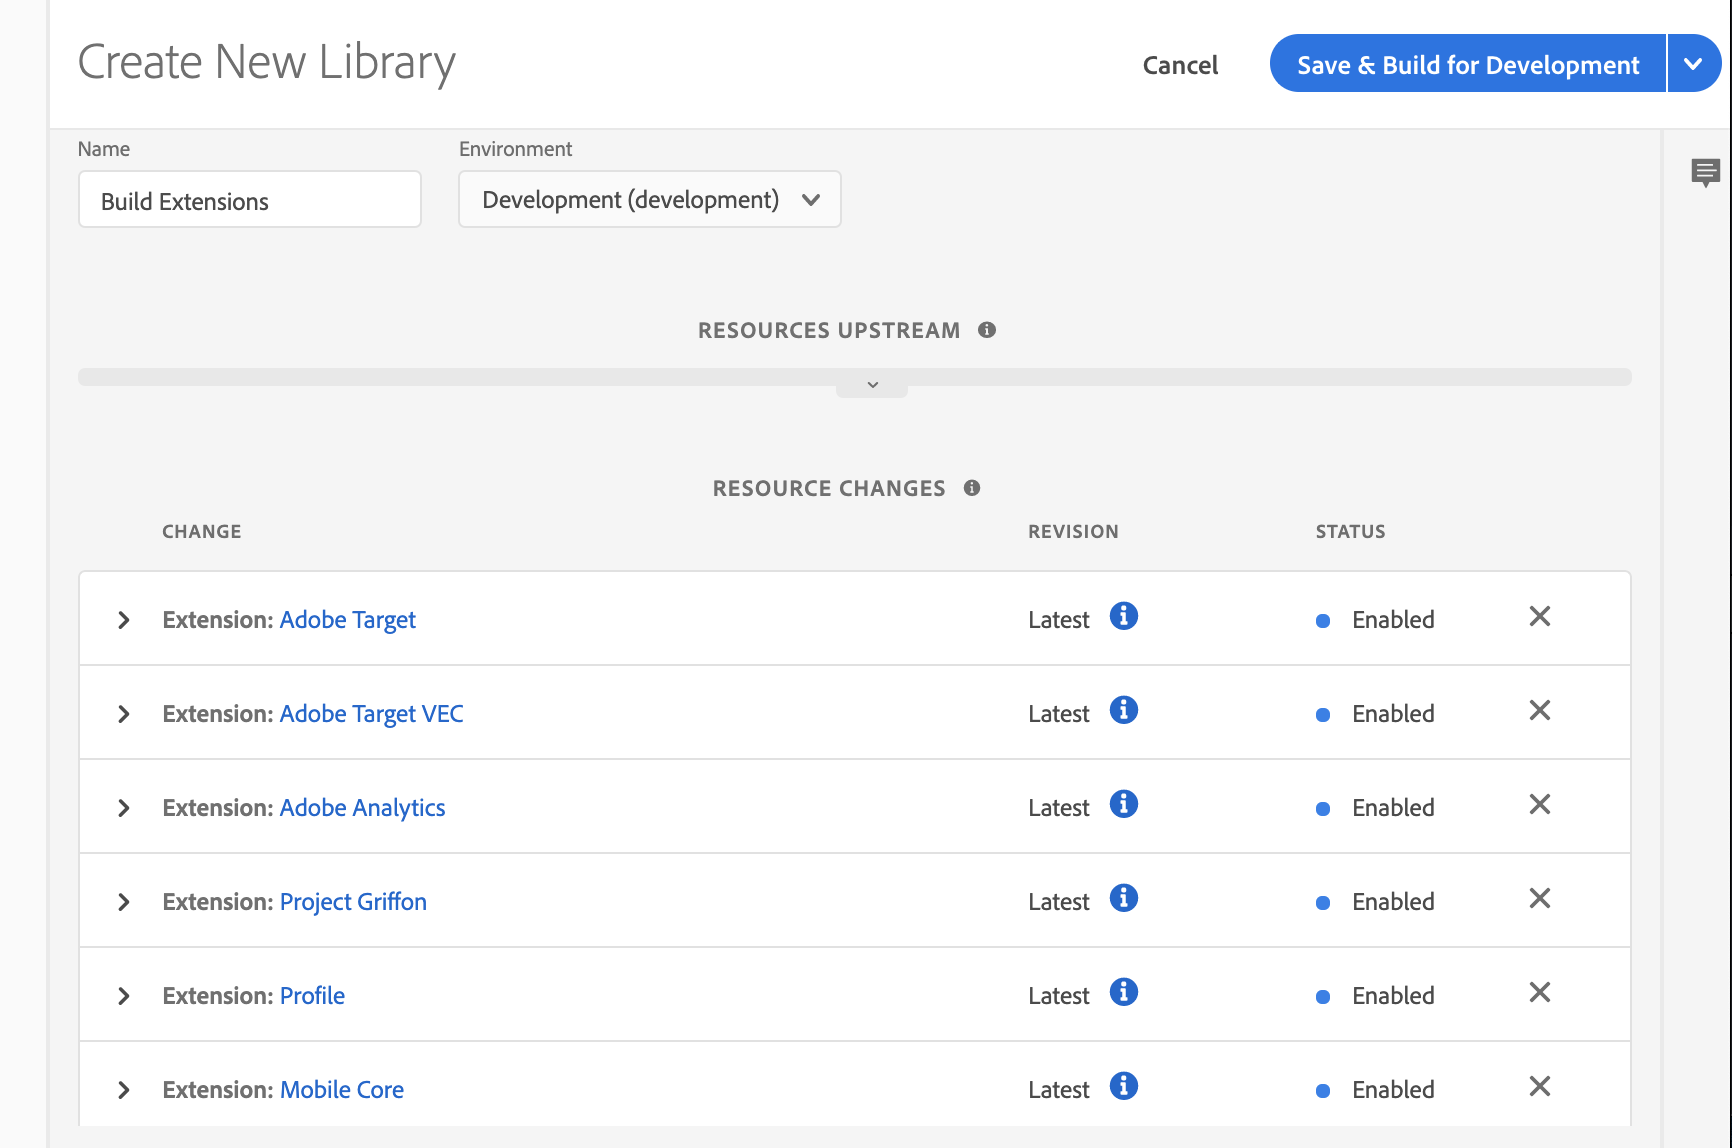
Once that’s complete, you’ll end up with something that looks like this:

Whilst this might all seem a little underwhelming, the foundations are now in place for the development phase.


